There’s just something about an ideal beach level. Astro Bot has several, but Go-Go Archipelago! in the Tentacle System has one thing the others don’t: a giant crab. Considerable crustaceans aside, there are plenty of collectibles to be had. Here’s where to find each while soaking up the sun.
Where to find every bot, puzzle piece, and Lost Galaxy level in Go-Go Archipelago!
Go-Go Archipelago! Bots

Bot 1: Our first hapless bot is to the right of where you land. Look up and you’ll see it tied to a palm tree. Jump atop the dolphin statue, run across it, and give the bot a good smack to release it.

Bot 2: On the left of the starting island will be the second bot camping out in a conch shell. It appears it had the right idea about waiting for rescue. Give it a kick in the pants to add it to your collection.

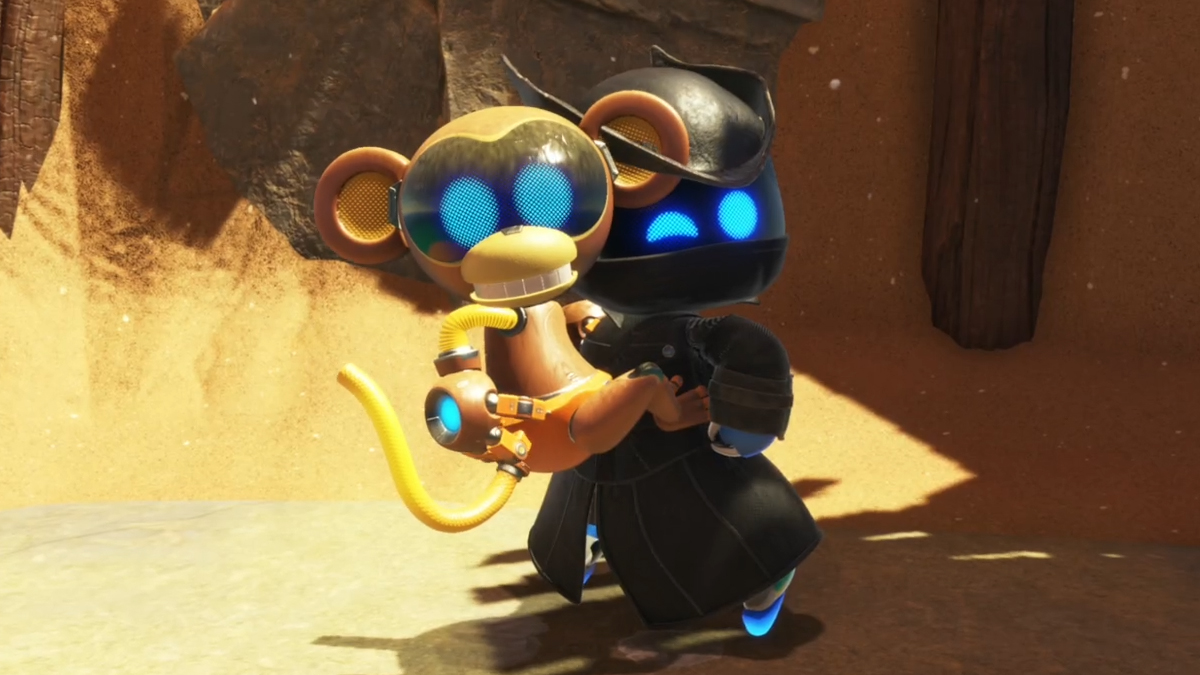
Bot 3: After acquiring the Monkey Backpack upgrade and crossing the next checkpoint, there will be a clam. Open it up and load up on the rocks inside. Use these to destroy the boxes on your left and jump through. Deal with the enemies and slam your monkey mitts on the circle to cause the flowers to bloom. Use these to reach the cliff above. Open the clam and rescue the third bot.

Bot 4 (Elfin Prisoner): The first of two Cameo Bots is located in the middle of the glass bridge. Use Astro’s lasers to cut a hole around the cage, dropping it to the ground below. Follow after to free Yorda.


Bot 5: After jumping down to save Yorda, you’ll see a large boulder on a tiny island. Pick it up and chuck it at the destructible wall across the way. Swim across and use your feelers to push the appropriate block, opening the way to bot the fifth.

Bot 6 (Horned Protector): After opening the door just past the glass bridge, deal with the enemies and climb up. Turn around, facing the way you just came, and jump across to the cannon. Play some Donkey Konga to fire a controller cable to the nearby island. Atop the mast on the section of that ship will be our second Cameo Bot, Ico.

Bot 7: Our seventh and final bot is tucked away inside a barrel, just prior to the glass wall. Climb up the cliff after rescuing Ico, deal with the enemies surrounding the checkpoint, and then pull the rope on the barrel to free our last little guy.
Go-Go Archipelago! Puzzle Pieces

Piece 1: This piece is being carried by a tucan while you approach with your Dual Speeder. Once you’ve cleared the ship wreckage, boost and veer left to nab it.

Piece 2: After getting the Monkey Backpack upgrade and climbing to the next checkpoint, there will be a chest. Open it up to reveal the rocks inside. Grab one and give the wall on the right the ol’ Randy Johnson treatment. This will lower the rock above and allow you to climb up to the second puzzle piece.

Piece 3: The third and final piece is located mid-way up the final cliff climb. After climbing across the broken rope bridge, you’ll see a large boulder. Jump over and use it to break open the wall, exposing the final piece.
Go-Go Archipelago! Lost Galaxy Entrance

The Lost Galaxy entrance is found after defeating the dastardly boss, Captain Pincher. Once the pirate has been felled, don’t jump on the final platform. Instead, turn around and you’ll spot one of his claws in the sand with some coins below it. Nab the coins and spin to sink below, where the entrance to Light Bulb Limbo.


