The options are strong with this one
Star Wars Jedi Survivor offers players the chance to be a Jedi Knight of their own design, enhancing the experience first offered in Jedi Fallen Order. As Cal Kestis once again, you’ll have full control over what your lightsaber looks like and how it works.
How to customize your lightsaber in Jedi Survivor
There are many different ways to make Cal Kestis’ lightsaber your own in Jedi Survivor. Besides the various lightsaber stances, there are also cosmetic changes you can make to the saber. Most of these are quite hard to see when normally playing the game, but the variety of parts and colors are still quite welcome.
You unlock the ability to customize your lightsaber while on Coruscant during the opening parts of the game. You’ll approach a workbench early in the story, and from then on, you can make the lightsaber your own. Afterwards, players who want to customize their lightsaber to the fullest need to only find a workbench.
To find the nearest workbench, I suggest looking onboard the Mantis, which you can fast travel to from pretty much anywhere on most planets. In addition, some of the larger hub areas like the town on Koboh and Cere’s hidden enclave on Jedha play host to workbenches.
All lightsaber customization options, explained

There are three main areas you can customize your lightsaber in: blade, components, and materials. Under the blade section, players have the ability to choose from ten lightsaber colors, plus one bonus option. Fortunately, nearly all are available from nearly the start of the game.
- Blue
- Green
- Purple
- Yellow
- Cyan
- Magenta
- Indigo
- Orange
- White
- Red (New Game Plus-exclusive)
- Party: Your lightsaber color changes randomly with every attack. (New Game Plus-exclusive)
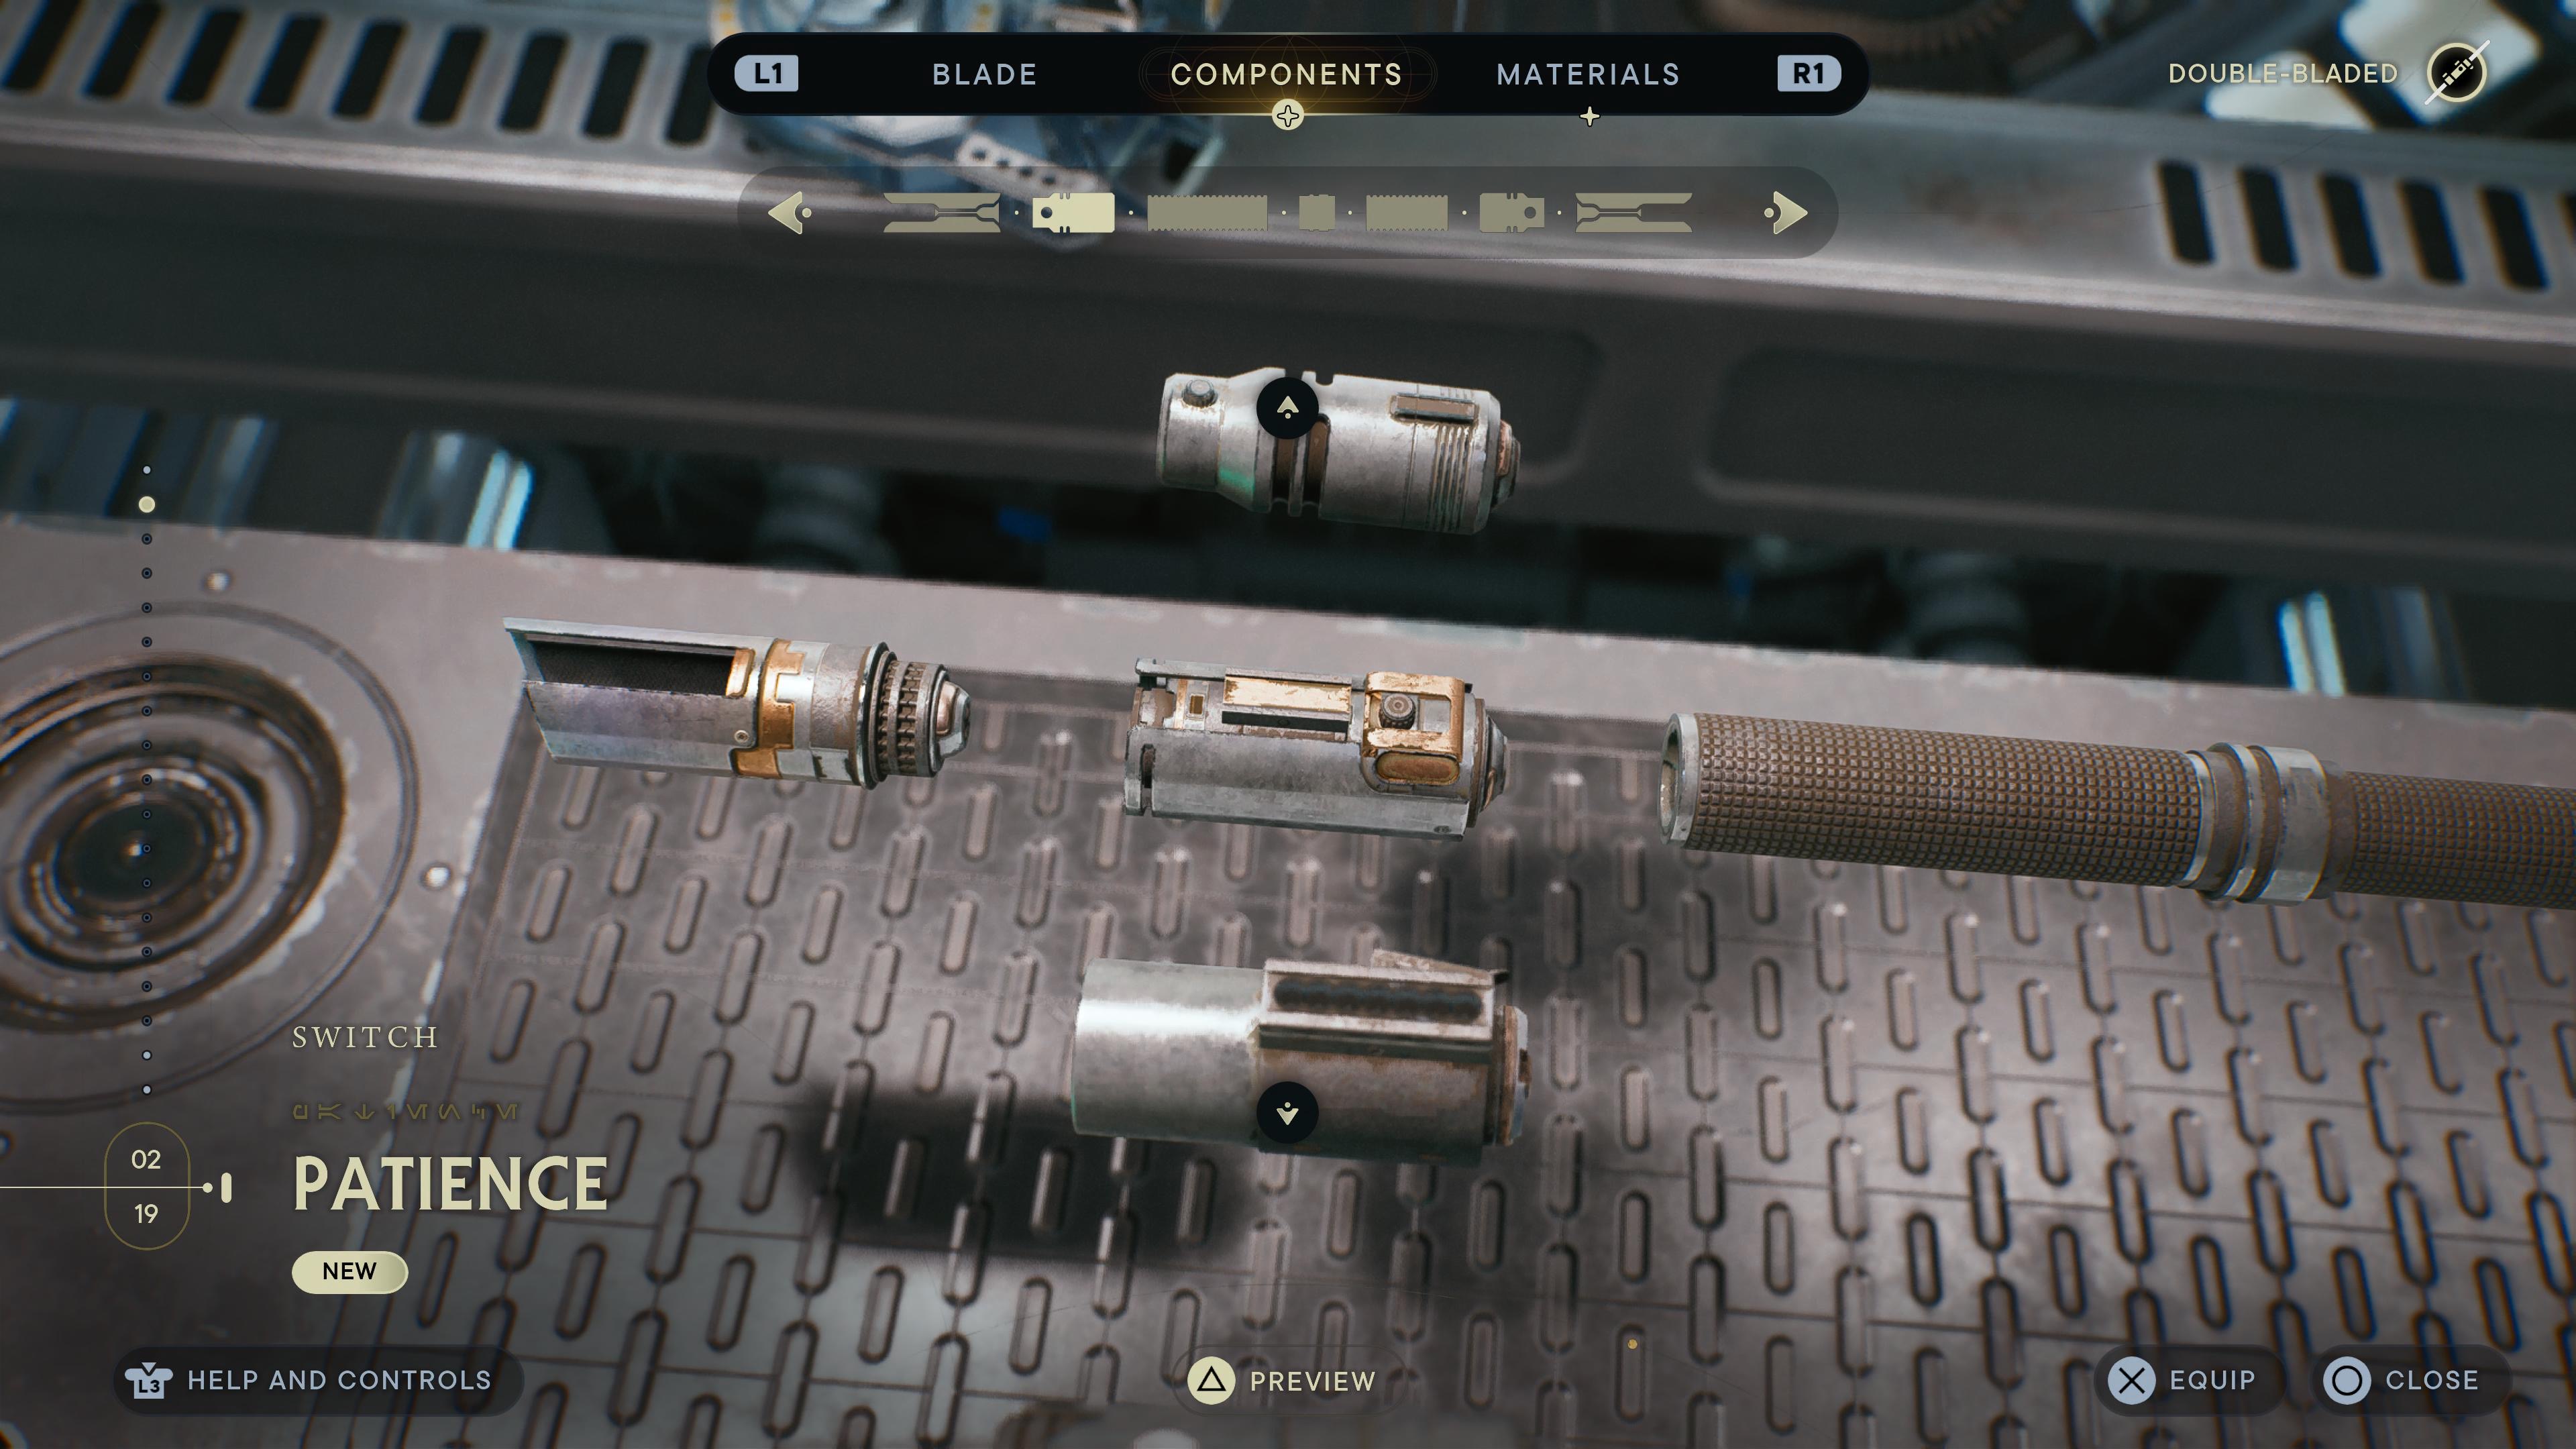
When it comes to the components, this is how you go about making the lightsaber hilt itself look different. These are the parts of the hilt you can change:
- Emitter: This is the outer part where the blade protrudes from. You can change the emitter on both sides; they don’t have to match.
- Vents: The second component from the left. Though it’s small, it can affect the look of the crossguard area.
- Switch: This piece is where you press to activate the lightsaber’s blade in combat.
- Grip: The piece Cal generally uses to hold his lightsaber. There are two parts to this on either side.
- Pommel: The central tiny piece that ties everything together.
Lastly, there are the materials. This section allows you to choose what type of materials you want the lightsaber to have, divided into five different sections:
- Primary: The base material for most of the saber.
- Secondary: The material for some of the smaller parts on the saber.
- Accent: This changes the materials for some of the accents and little decorative pieces around the lightsaber.
- Grip: This changes the material of the grip where Cal holds the lightsaber.
- Condition: This affects how new or old the lightsaber looks.


Published: May 2, 2023 12:15 pm