To access the deeper secrets in Baldur’s Gate 3’s Shadow-Cursed Lands, you’ll need to enter Thorm Mausoleum. Whether you’re here for sport or driven here by the story, discovering the secrets at the heart of this tomb is a crucial piece of BG3’s quest line.
The Thorm Mausoleum in BG3 lies east of the House of Healing, another big area in the Shadow-Cursed Lands that you’ll need to explore for side quest purposes. I stumbled upon the mausoleum naturally, though I’ve heard from other players that the story eventually points you in this direction too. However you get here, you’ll need to open the secret entrance to reach the Gauntlet of Shar beneath the tomb.
How find the Thorm Mausoleum puzzle solution in Baldur’s Gate 3
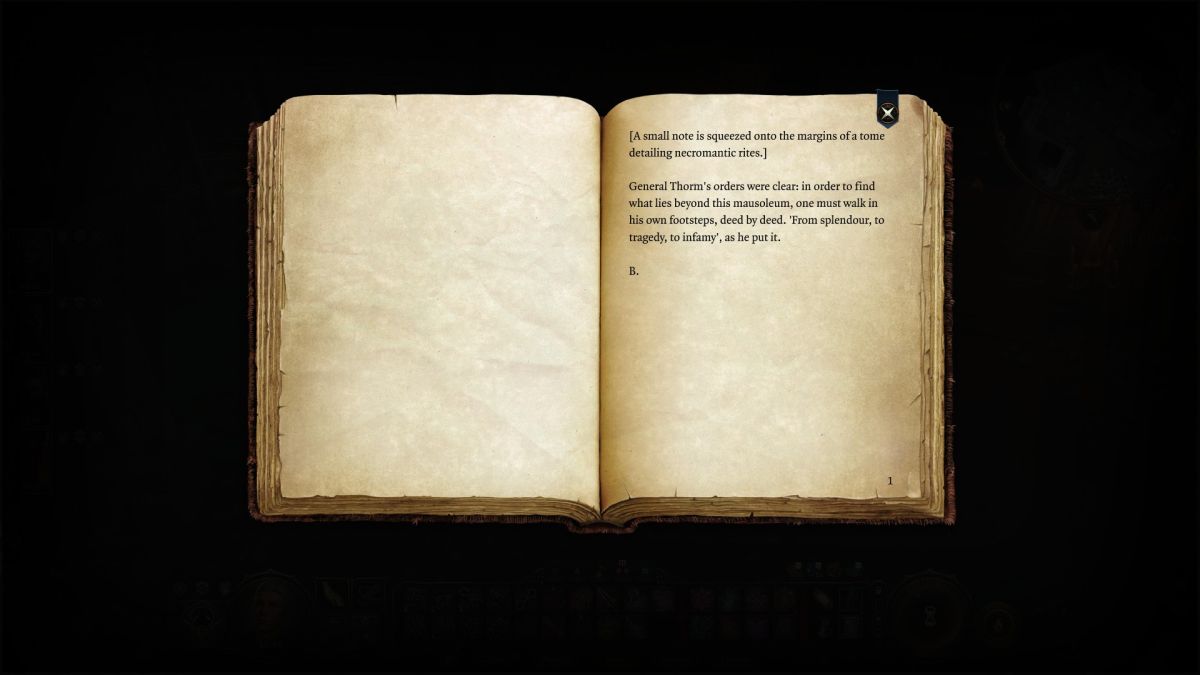
You’ll find the solution to the Thorm Mausoleum puzzle through a Stained Book in the eastern wing of the crypt. Upon entering the room, you’ll find an ominous red skull pattern on the ground and the book on top of a desk. The exact coordinates for this spot are (X:-254, X:-875.)


As the note tells you, you’ll need to walk in Ketheric Thorm’s footsteps to enter the deeper level of the mausoleum, “from splendour, to tragedy, to infamy.” You’ll find traps along the way, so watch your step as you follow the path through this area.

How to solve the Thorm Mausoleum puzzle in Baldur’s Gate 3
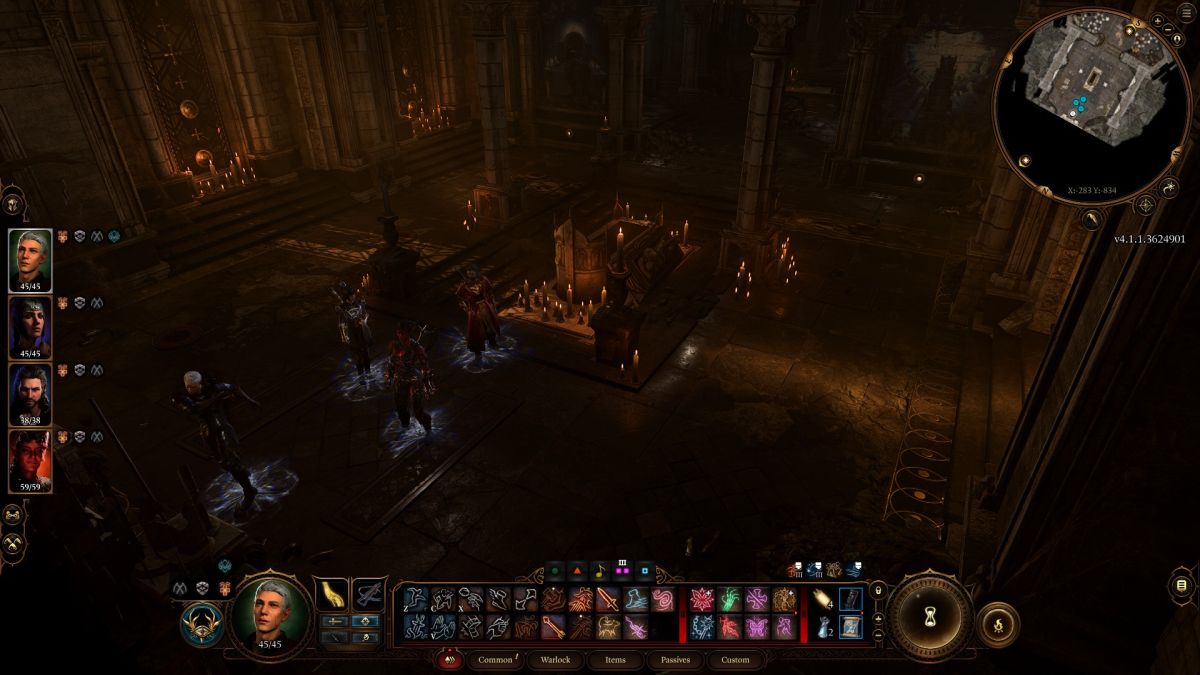
Deeper inside the entrance level of the crypt, at coordinates (X:-282, Y:-846,) you’ll find three paintings depicting pieces of Thorm’s life: the Moonrise Towers, Grief, and acting as a General.
To open up the entrance to the Gauntlet of Shar and solve this puzzle within Thorm Mausoleum, you’ll need to press each button in the following order:
- Moonrise Towers
- Grief
- General
Positioning one character in front of each painting can help you finish this without risking someone from your group stepping on a trap. Doing this is up to personal preference, as you can finish the puzzle just fine while traveling in a group.
The first button, Moonrise Towers, is right next to the puzzle room’s entrance. If you rotate your camera so you’re looking toward the entrance, you’ll see it directly to your right. Press the button under the painting.

Next, you’ll need to press the button under the Grief painting. This one is on the opposite side of the entrance, depicting Ketheric grieving the loss of his daughter. There’s a lot to this part of the story, but we’ll dive into that more in the future. For now, press this second button to advance through the puzzle.

Lastly, you’ll press the button underneath the General painting on the opposite side of the room. There are a ton of traps along the sides of the coffin, so watch your step as you make your way over here. Having one person go over and press the button might help make things easier.

If you do it right, a passage will open. And if you do it wrong, well, a trap will trigger, rapidly damaging your party. You’ll probably just want to reload to save yourself the fleeing and healing.
Once through there, you can begin to explore the Gauntlet of Shar, a massive dungeon that holds some pretty big beats, especially for the Shar-devoted Cleric Shadowheart. It’s dangerous, too, so be sure to rest up and stock up before diving down below the mausoleum in Baldur’s Gate 3.


