Gray Zone Warfare’s realism remains the highlight of its gameplay, whether through its complex health system or authentic weapon collection. The Night Ops update expands this aspect through its new Night and Day cycle, bringing a unique threat in the darkness.
The dangers of the night forces you to use various light materials, specifically with the latest NVG equipment. Here’s how to get Night Vision Goggles in Gray Zone Warfare.
How to unlock NVGs in Gray Zone Warfare
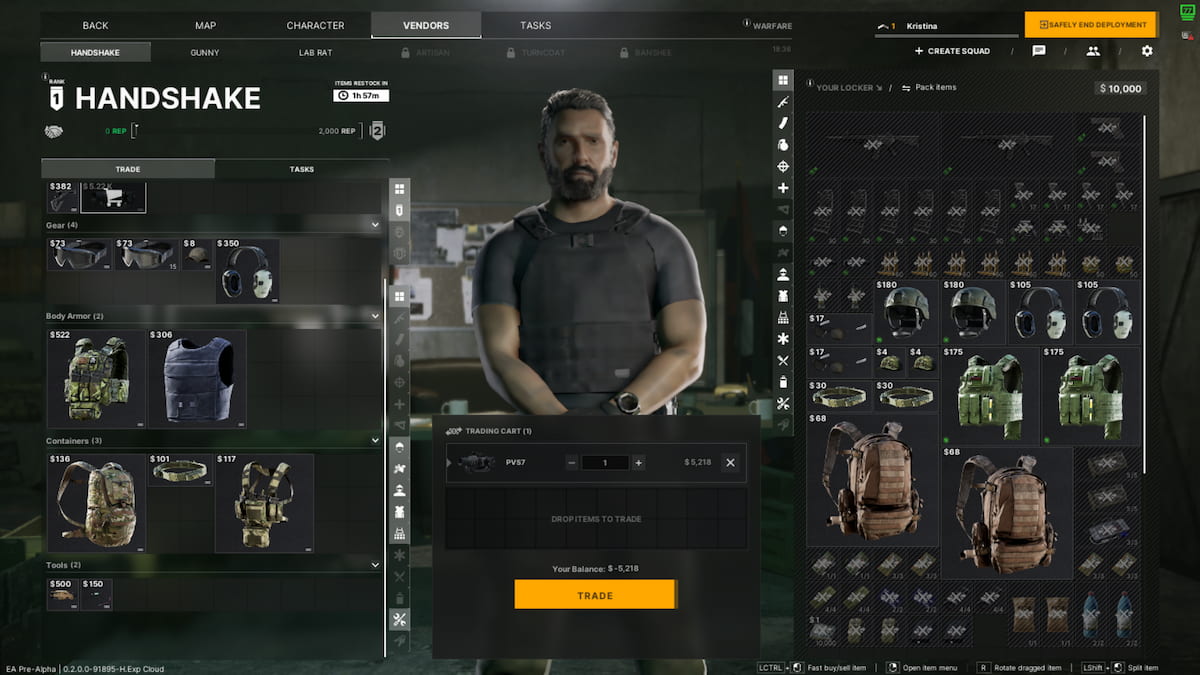
Gray Zone Warfare Night Ops offers three versatile night vision device options: PVS-7, PVS-14, and PVS 31A. The vendor, Handshake, sells the PVS-7 for $5,218, which makes for an excellent starter NVG. With its green phosphor, this single-tube night vision binocular empowers you to see through the darkness with ease.

However, since the PVS-7 isn’t the top-tier option, you can opt for the upgraded PVS-14 and PVS-31A. I haven’t encountered these particular items, but they will likely be available in the Vendor shop, mission rewards, and GZW general exploration, similar to other high-value equipment.
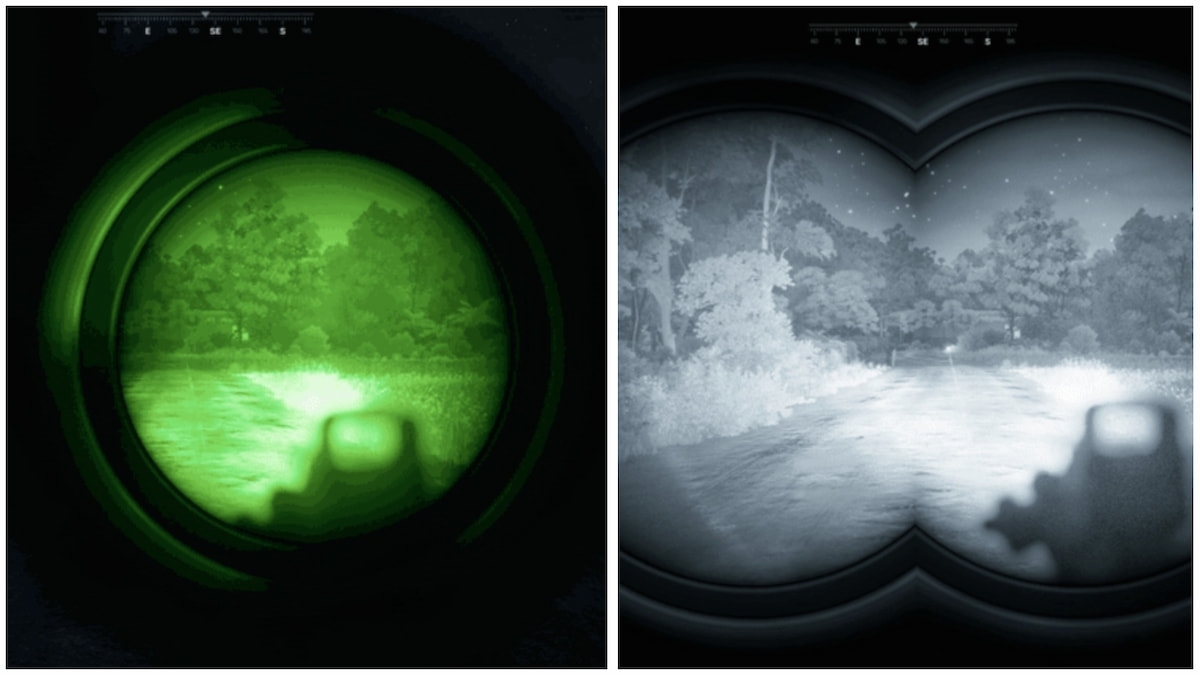
The PVS-14 presents one of the best night visibility in the game as a quality monocular device. This item and the PVS-7 share a similar green-colored visual to help you see better. However, considering that these two options only provide one scope, you may want to try the PVS-31A instead. Through this NVG, you’ll gain a dual-tube night vision goggle system with a white lens.

If you don’t mind spending extra cash, you can purchase certain Gray Zone Warfare editions to acquire NVG tools automatically. The Elite Edition offers a Monocular Nightvision gear, NVG Mount, and NVG Adapter. The Supporter version also features the Binocular Nightvision. Keep in mind that these editions aren’t required to unlock specific NVGs. They’ll still be accessible in-game, regardless of whether you’ve purchased them.
How to use Night Vision Goggles in Gray Zone Warfare
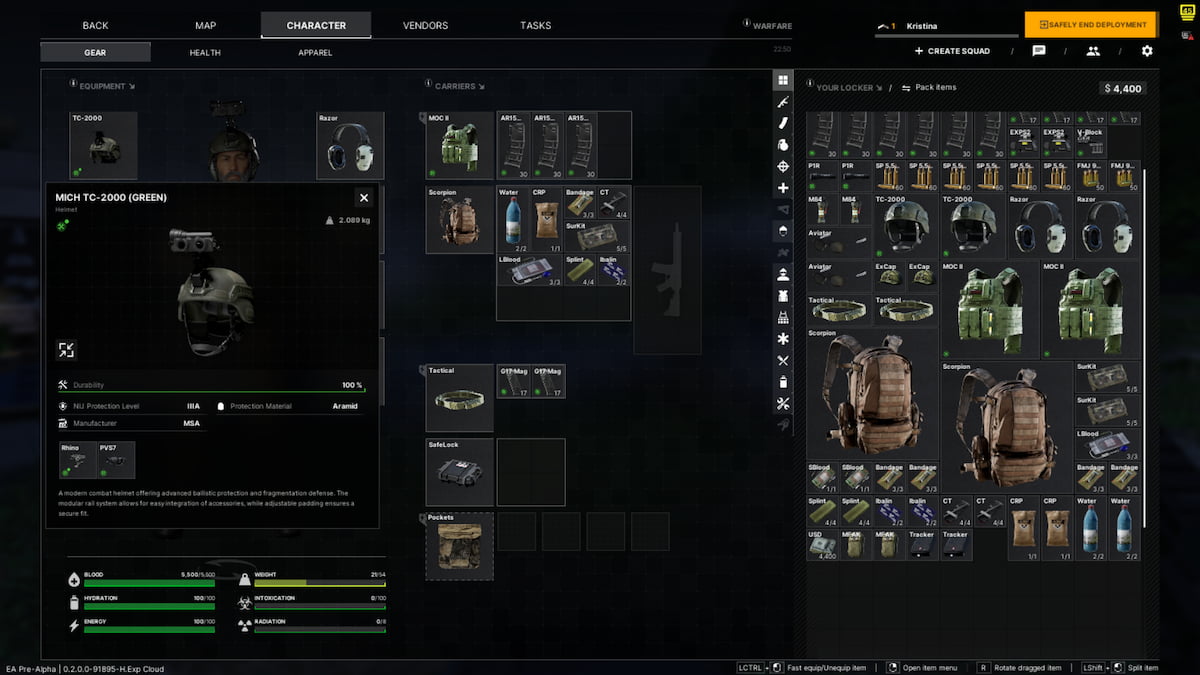
You must attach a mount on your helmet to use the Night Vision Goggles in GZW. This includes the G24 mount, Rhino, or J-Arm. Like the PVS-7, you can purchase the Rhino from Handshake for $382. As for the others, they may appear later on with specific missions.
After you’ve obtained a mount and NVG, right-click on a Helmet and press ‘Inspect.’ The TC-200 worked for me, but you can try other alternatives for this build. First, place the Rhino or whichever mount you have in the Helmet’s Shroud Mount section. You’ll then have a slot open for the Night Vision Goggles. Hit the ‘N’ key to activate it or turn it off.

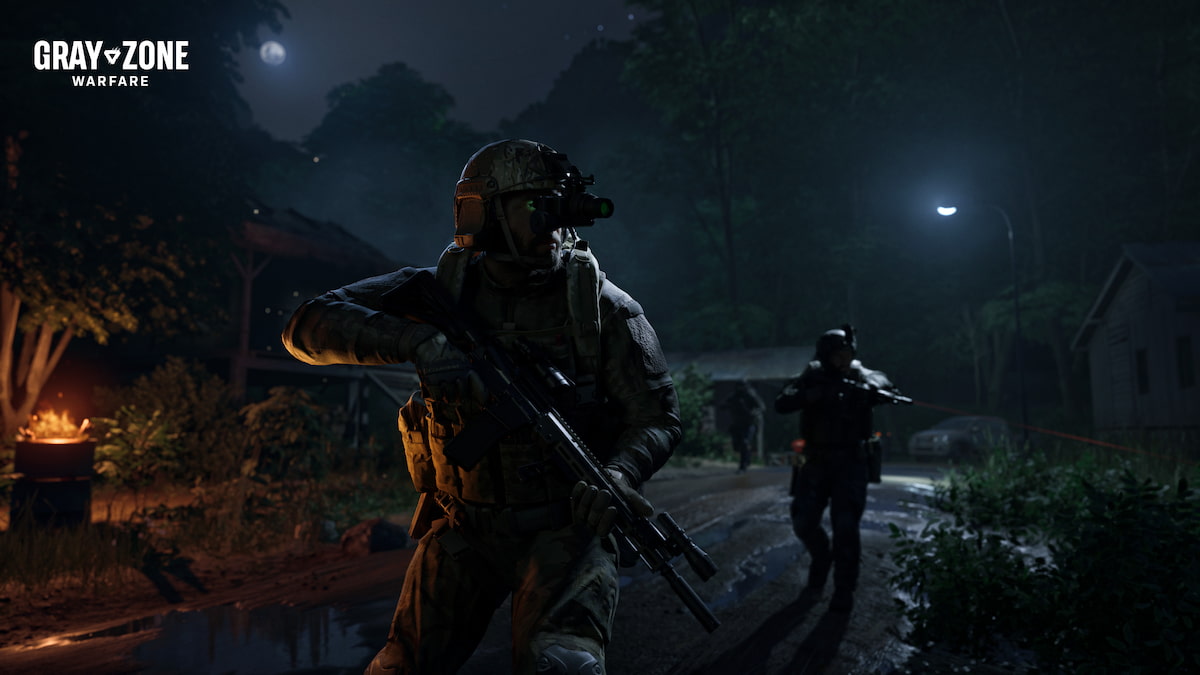
You’ll notice that the NVGs help amplify the surrounding light around you. You may need additional light sources like buildings or lamps to illuminate the environment more. While flashlights can be useful, they might interfere with certain builds. Combining flashlights with NVGs can even shut down your night vision goggles, where intense light sources can cause it to fail. Test your build first so you can avoid such issues and feel more prepared. The game also lets you know when an NVG item isn’t compatible, presenting a red-colored icon within its slot.

If you want a more reliable choice, combine an NVG with an infrared laser. With both these tools equipped, you’ll see a beam of light, making it easier to knock the enemy down. Don’t worry; this beam won’t get you on the enemy’s radar, as it will remain invisible to the human eye.
Over time, your NVG will start to deteriorate with multiple uses. The wear and tear results in various obstructions in your line of vision, from cracks to dirt. Construct another Helmet build if it doesn’t work or when losing it on the field.


