So you’ve been playing Phasmophobia for a while now. You’ve absolutely nailed down the unique characteristics of each ghost to such an extent that all that investigation equipment is merely an afterthought. Good for you, I say, but maybe there’s more you can do.
While identifying the spectral being is the key selling point of Kinetic’s horror release, there are additional ways to get that sweet, sweet cheddar. In fact, you can take it one step further and follow this guide on how to get a Perfect Investigation bonus in Phasmophobia.
NOTE: all the below must be fulfilled to earn the bonus, and the final amount you earn will depend on the multiplier that’s added to the contract.
Get the correct ghost

Why am I even telling you this? If you’re reading this article and you’ve played the game even a bit, you know the main thing you need to do is find out which apparition you’re dealing with. That much is obvious. However, I think it’s still worth mentioning at the start. Covering all our bases, yeah?
Depending on how familiar you are with the way Phasmo works, what difficulty you have it on, and/or what map you’re playing will all depend on how easy the main objective is. It goes without saying that ghost identification becomes more lucrative in tougher settings and on larger levels. Just don’t forget to mark it off in your journal. Man, the times I’ve missed out on hard-earned cash because of that schoolboy error.
Complete the additional objectives

Again, this one might sound obvious. Of course, achieving a Perfect Investigation bonus will require completing all three tasks, as well as pinpointing the correct ghost. But sometimes people can neglect these extra jobs, especially if they’re slightly more tricky, such as escaping during a hunt.
Because the game randomizes which objectives it wants you to (optionally) complete, some contracts can be easier than others. I’m not saying this is the best way to play, but if you want to see things like “get an EMF reading” or “witness an event” on the corkboard, you may need to exit and reload the map until you get what you want.
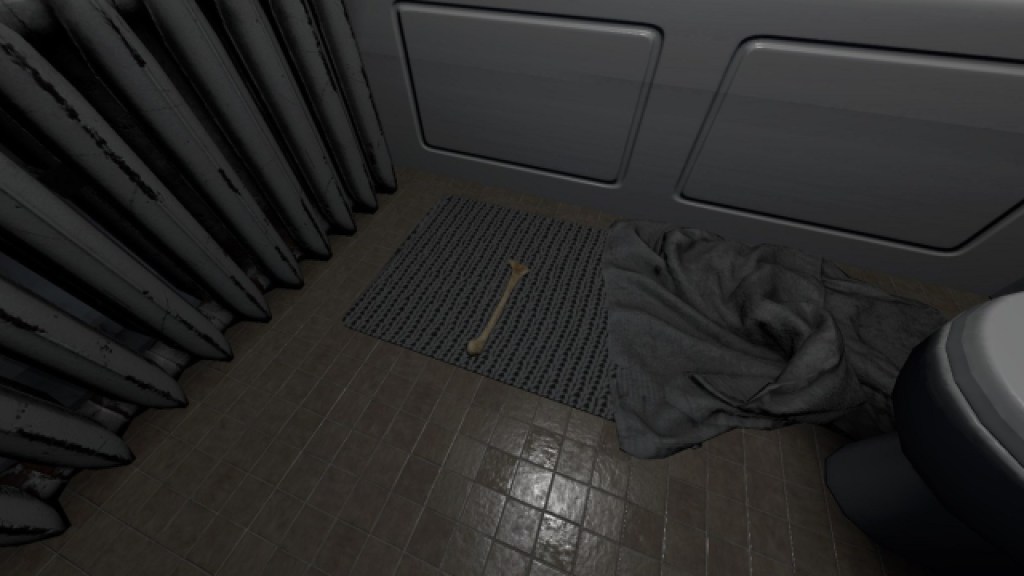
Find the bone

This one is a little easier to forget about, as it’s not one the game will list as part of the objectives on the board. However, veterans of Phasmophobia will probably have developed muscle memory for this one. Muscle memory for bone-finding; there’s something I never thought I’d say.
If you’re fairly new to the game, I’ll give you a quick rundown. Basically, every time you load a new map, a bone will spawn somewhere in the location. It’s up to you to find where it is and retrieve it (after taking a photo – more on that below). Sometimes they are easier to spot, especially if it’s something big like a rib cage or spinal column. Other times, it can require some detailed sleuthing. Also, my friend and I are convinced the bone doesn’t always spawn as soon as the level loads, so maybe bear that in mind.
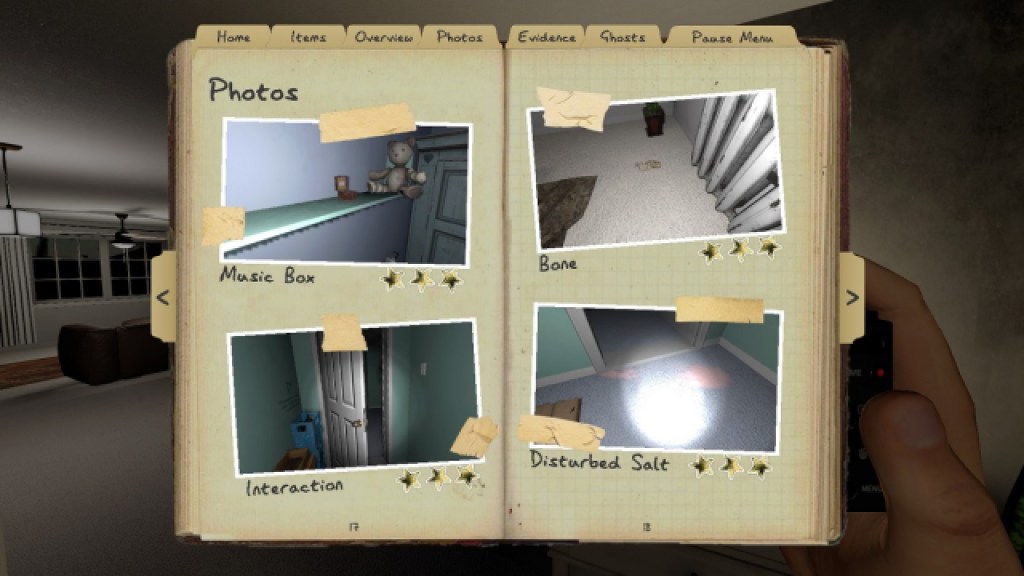
Fill the photo book

Completing this one for the bonus does require a bit more time. In a nutshell: you need to fill the journal up with a maximum of ten photographs. But they can’t just be any photos; they must be worth three stars each. To achieve three stars, the subject must be within close range of the camera and nicely framed, i.e. in the center.
Fortunately, there are a number of ways to achieve this objective. You can take a photo of each of the following in any investigation:
- The ghost itself
- The bone that spawns in the map
- The Cursed Possession item
- A burned Crucifix
- Dirty water seen in a sink
- A dead body (you or one of your teammates)
- A disturbed salt pile
- Handprints and/or fingerprints
- Writing in the ghost book
- Any other interaction, such as seeing a door open (but you may need to be pretty quick for this one)
You can mix and match these as well; they don’t have to be ten different photos. We often get away with having three-star ratings despite having taken about four or five shots of the exact same thing. I’m sure this isn’t within the spirit (heh) of Phasmo, but it can speed things up.


