While working your way through the Operations in Warhammer 40K: Space Marine 2, you’re going to end up battling the Tyranid horde’s Hive Tyrant. This monster controls every Tyranid on the planet and keeps them working together, so it needs to go down.
The Hive Tyrant is the one who keeps every Tyranid in the swarm, working in unison towards a single goal. In Warhammer 40K: Space Marine 2‘s campaign, this means that the only way to prevent the Tyranids from working to stop all Space Marine objectives is to take the leader out. You’ll face it in the later Operations missions, but it’s a tough fight you won’t be able to win unless you persevere, so I’ve got some tips to help you do just that.
How to defeat the Hive Tyrant boss in Warhammer 40K: Space Marine 2

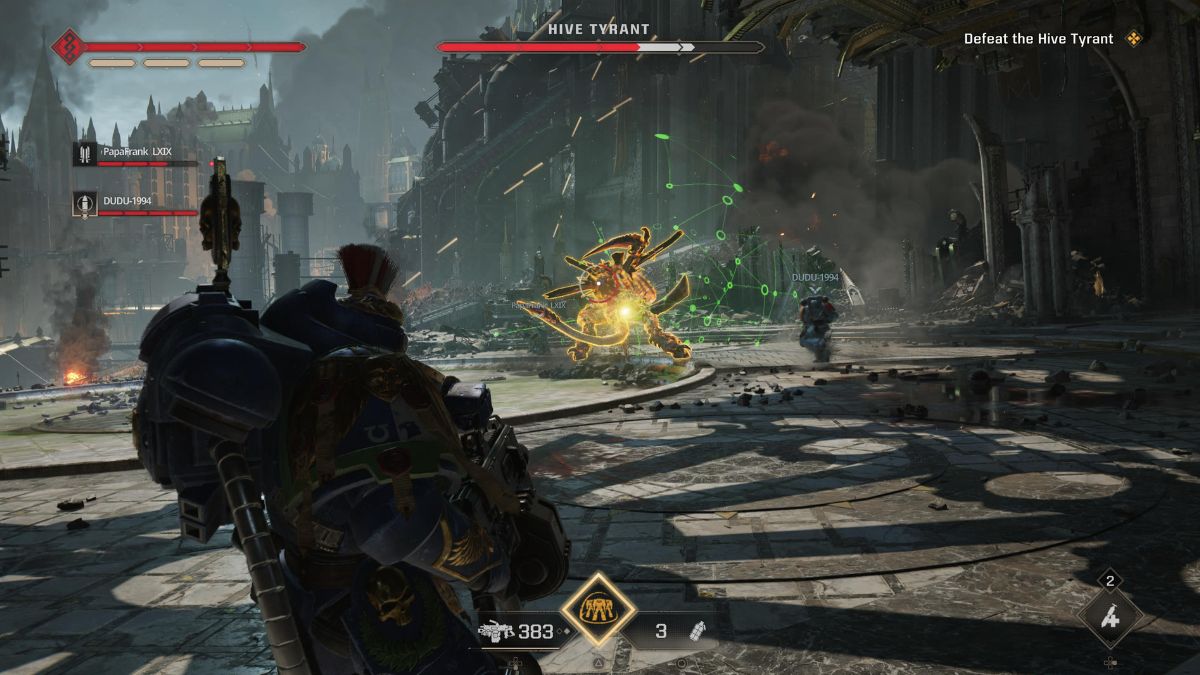
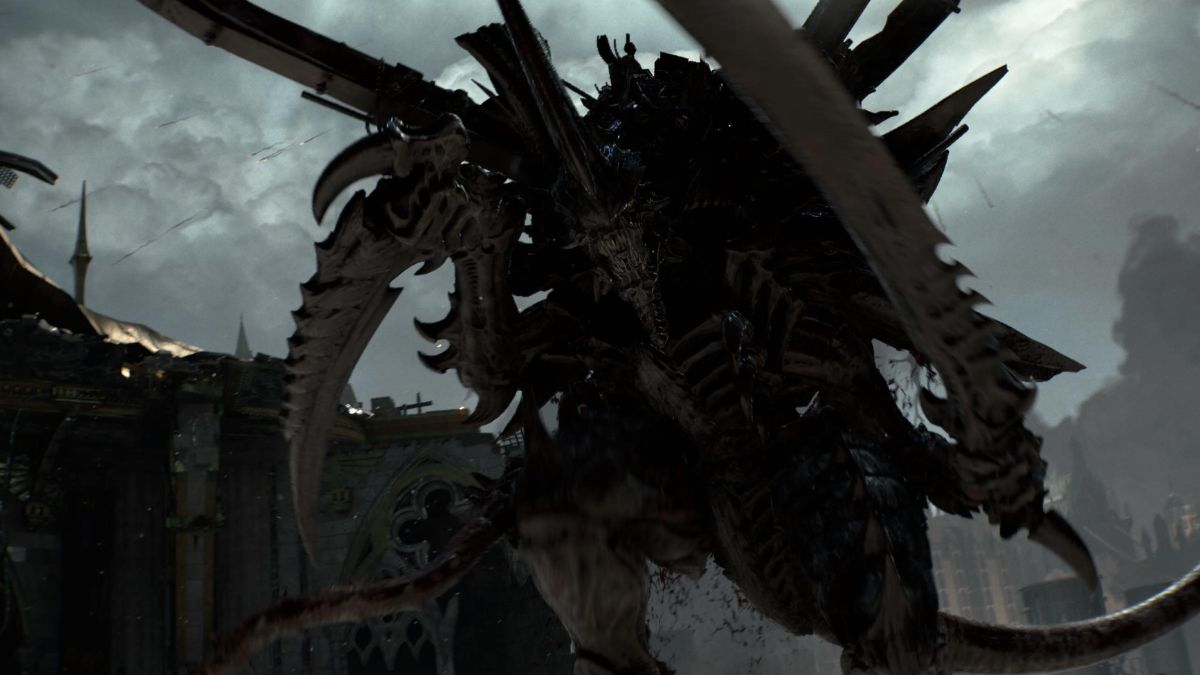
You’ll encounter the Hive Tyrant soon after crushing it under a huge statue late in the Operations side missions. It’s weakened but still a formidable opponent. The monster has the ability to get up close and slash away with its scythes in close combat, but it can also make life quite difficult with ranged attacks.
From the very start of your battle with the beast, start and keep firing at it for as long as you can. Prolonged gunfire from the Heavy class is particularly effective, but any and all damage you can deal with early on is great.
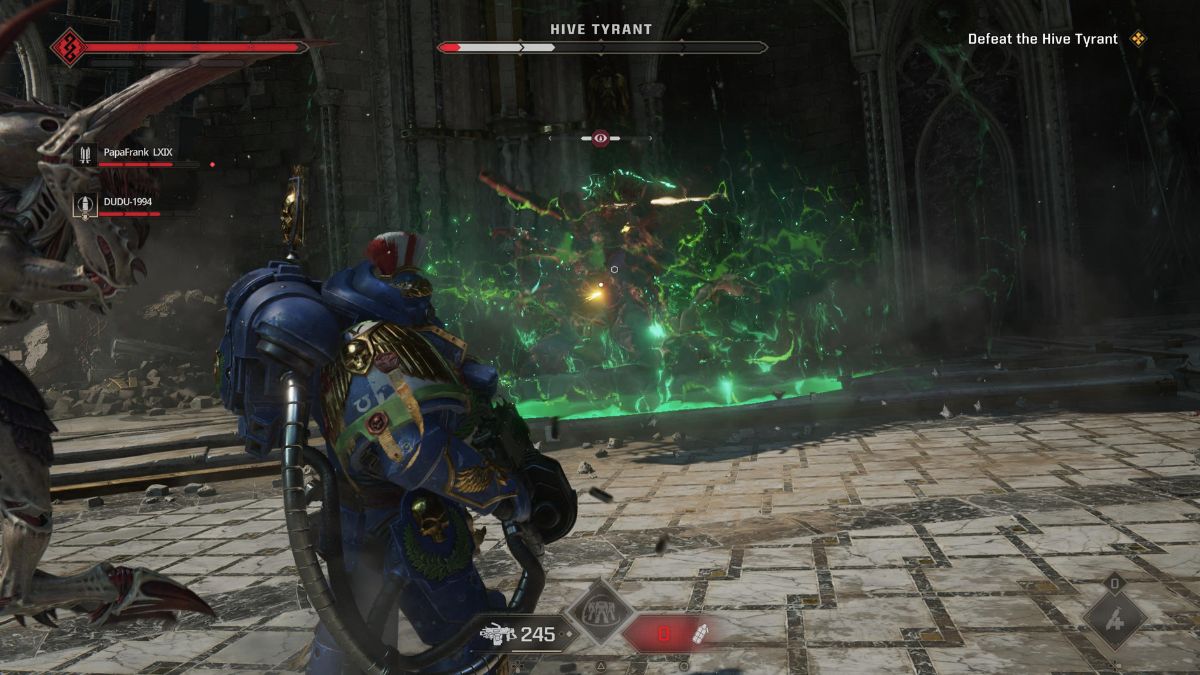
After working the boss’s health down to about halfway, Tyranid reinforcements will show up and start trying to distract you. Take these enemies down quickly while keeping the Hive Tyrant at bay. It’s best to split your focus here and just have one player kite the boss away while the other two focus on clearing out any other enemies.

When the Hive Tyrant’s health hits zero, it’s going to let out a massive scream that will knock you over and could even cause damage. Just after that, its health will regenerate, and you’ll need to fight it all over again.
This second phase is much more of a challenge than the first. In my encounter, I had to deal with more psychic attacks from the Hive Tyrant, including more damaging screams, and dodge away from even more attacks because it comes after everyone at this point.
Keep up the damage, throwing grenades and whatever else you have at it to deal damage and take it out once more. When you’ve depleted its health bar for the second or third time, depending on the difficulty, the boss should be dead. This ends the mission, but you never truly feel like you can relax because it tricked you the first time.


