The finalé of Zelda: Echoes of Wisdom sees you undertake the biggest battle of all — the battle with yourself. Well, kind of. At the very least, you’re tasked with ending Null, who has at least for now taken the form of Zelda.
This battle will take place after you’ve found the Deku Tree and made your way through the Stilled Ancient Ruins. This area is a combination of all the other Rifts you’ve been through up until this point, so you’ll need to work your way through fire, ice, water, and everything else.
I would recommend not entering this battle without a healthy stock of Smoothies and Potions. It’s possible to get through it without any, but it’s definitely not a fun experience.
How to defeat Null Zelda
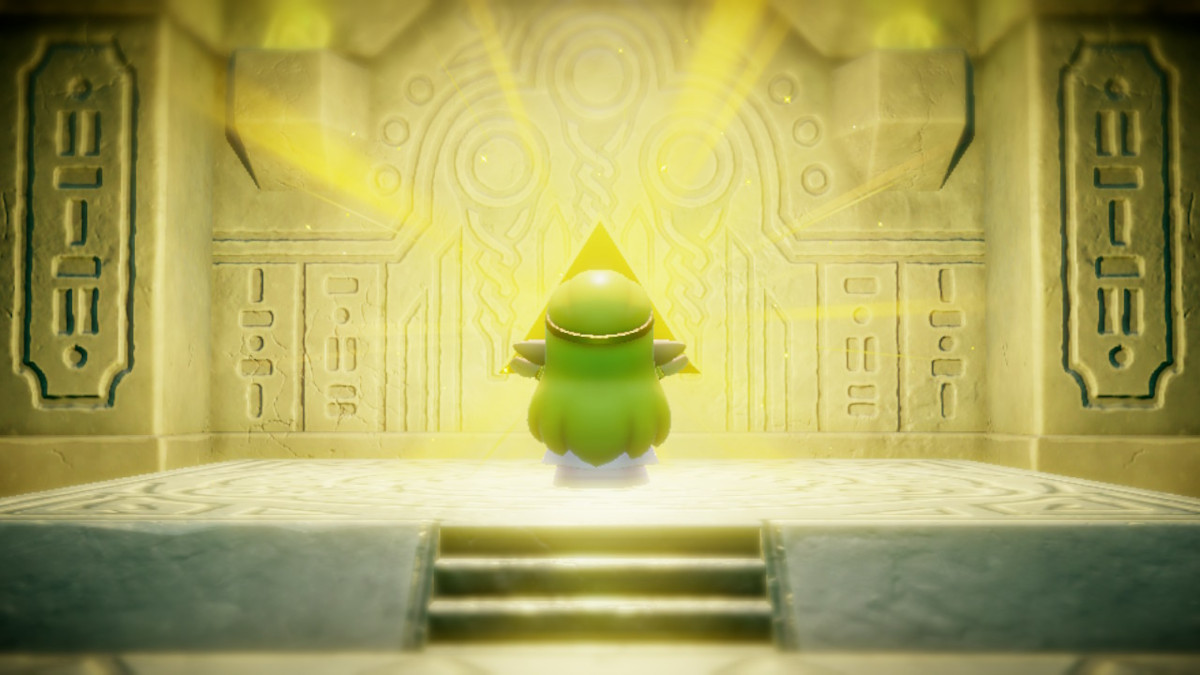
The battle against Null Zelda will happen on a platform of the Rift which combines all the different habitats you’ve encountered before. This fight is simple enough, and you can get through it mostly through using your strongest Echo. I chose to go with Fire Wizzrobe, and then proceeded to run around in circles while it did the damage.
Null Zelda will begin to produce Echoes which progressively get stronger. Between waves, Null Zelda will become exhausted and collapse to the ground. This is your chance to get in close and deal some damage in Swordfighter Form.

After this fight is over, you’ll be able to rescue Link from his crystal confines. Unfortunately, you’ll also have to give his weapons back, which does leave you at a disadvantage going into the final part of the story.
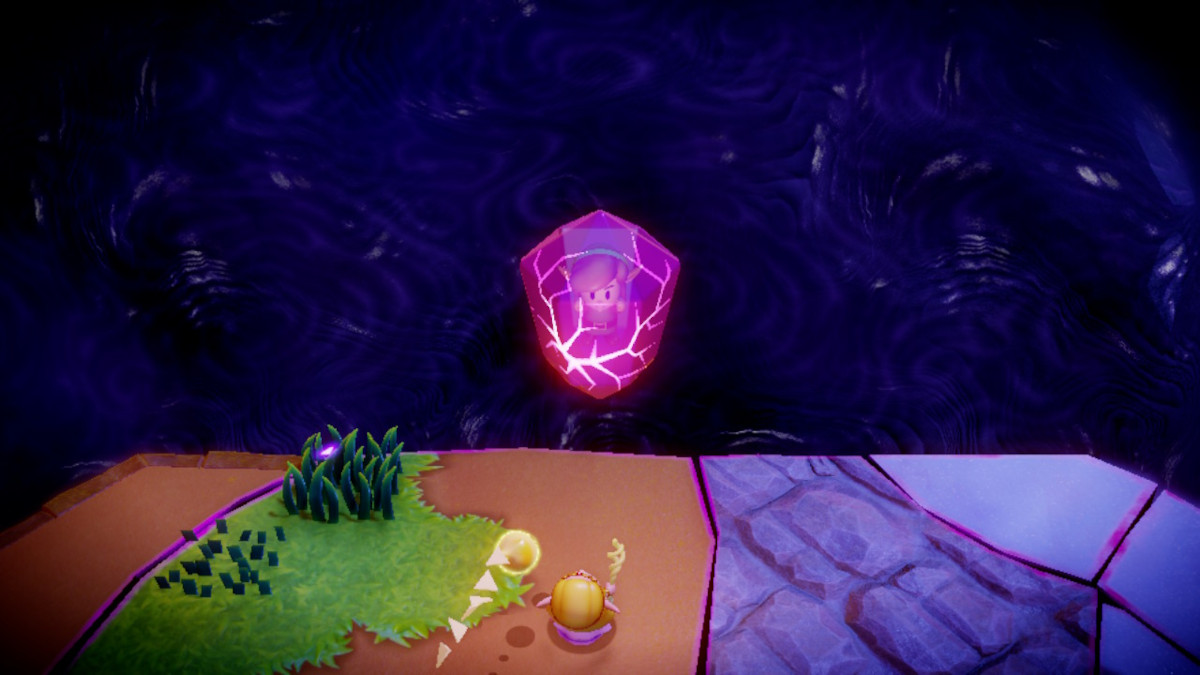
Once you’ve defeated Null Zelda for the first time and given up all of your weaponry, you’ll set out into the body of Null itself. This works in the same way as any other Rift Dungeon, albeit with a more squishy setting. You’ll need to rely solely on your Echoes and Link fighting your battles for you all over again, so you’re going to spend a lot of time avoiding incoming attacks.
After getting split up, enter the next room and use an Echo with ranged attacks to take out the dark orb in the upper right corner to open the doors. The path from here is fairly linear, and you’ll need to utilize all of your previous dungeon traversing experience in order to make your way through Null’s body.
When you come out in the room with Link and a button trapped on the other side of a wall, use the Binding ability to pick him up and move him onto the ledge with the gooey substance blocking the door.
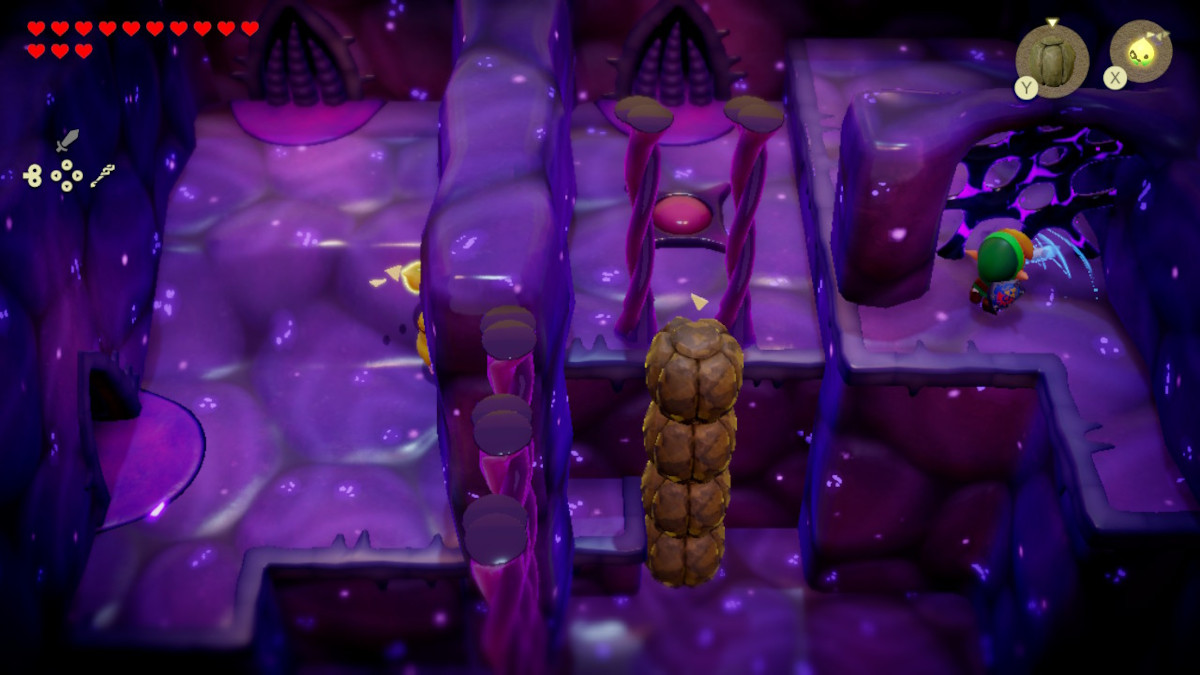
This will reunite you and you can move on to fight Null all over again. At the end of the path, jump down into the very univiting pit and you’ll come face to face with Null in its actual form. It will absorb Null Zelda, and a huge Hyrule-wide Rift will open up. Thankfully, Null only has one of the Prime Energies, but that does leave us with an issue — we need to get it back.
How to defeat Null in Zelda Echoes of Wisdom
For the first part of this battle, Null will appear as a sphere with three arms, which need to be taken out one by one in order to defeat it. When defeated, each arm will drop a heart, which is useful because you’re going to be doing a lot of running around to avoid being hit by the waves or dark energy that Null shoots at you.
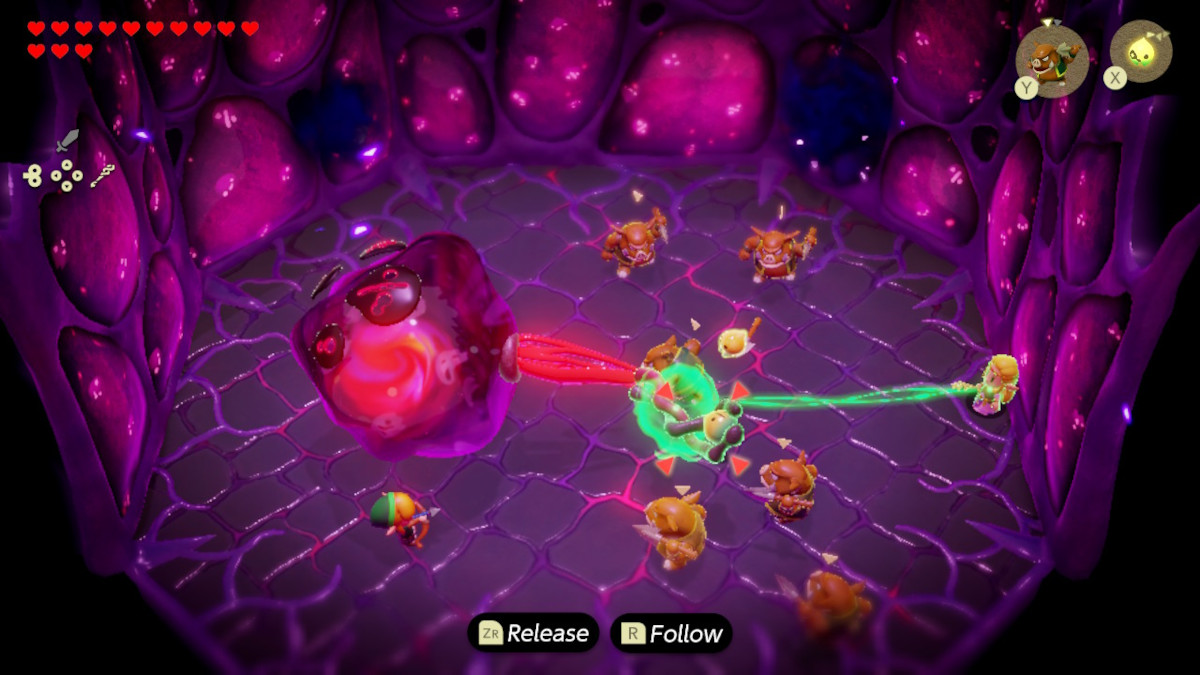
Summon as many Echoes as you can to help Link take out the arms, and when the arms are removed, Link and the Echoes will swoop in to the fallen sphere to deal a lot of damage. You can also use the Bind ability to hold onto the arms, making it easier for Link and your Echoes to remove them more quickly.
It’s better to summon a lot of weaker Echoes than to summon one strong one, as most of Null’s attacks will kill Echoes in one hit regardless of their strength.

For the next phase, Null’s arms will spawn from within the walls of the room, and once again need taking out one by one. This is a rinse and repeat of the first phase, except Zelda now has three waves of dark energy to avoid. Remember to collect all of the hearts when they drop and keep summoning your Echoes.
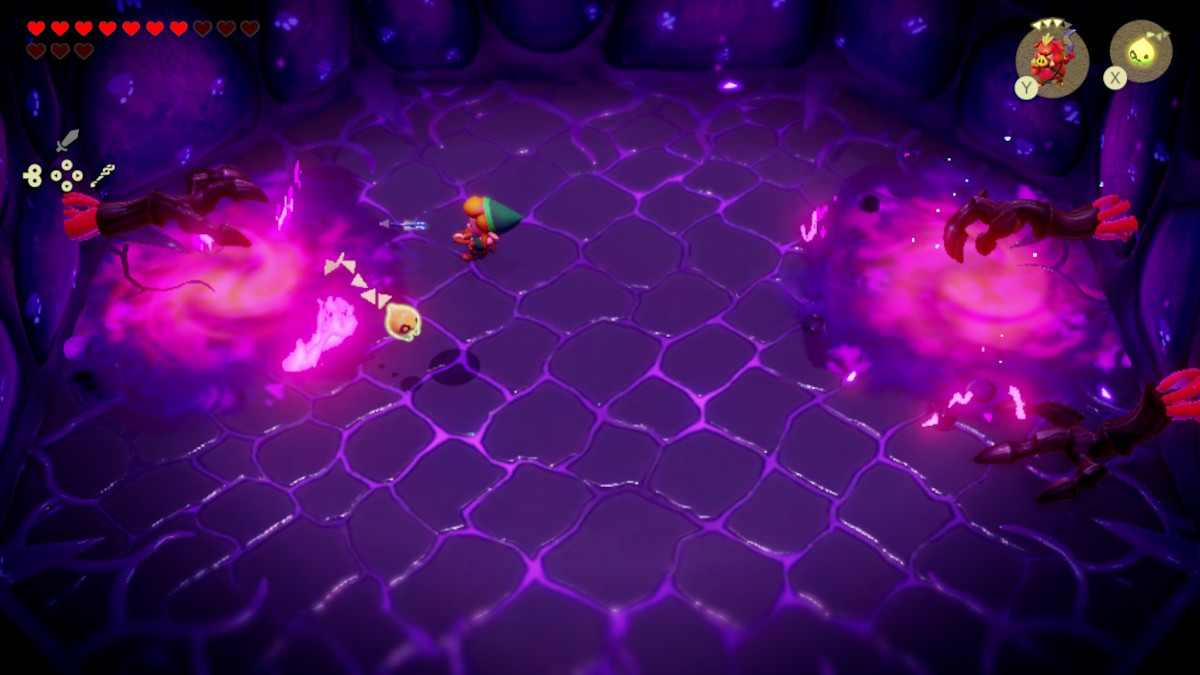
When the arms in the walls are taken out, Null will return as a sphere and the pattern continues. This battle is all about avoidance and keeping on top of your Echoes while Link does most of the damage, so make sure to keep moving.
The next time Null’s arms appear in the walls, they will begin to create pools around them which cannot be entered. Make sure to avoid them, and keep bringing out your Echoes that can do damage from a distance. The same will happen once the wall arms are defeated and Null returns as a sphere, so watch your step.
After this version of Null is defeated, which happens after each phase has repeated twice, Zelda will end up in some water with an aquatic version of Null. This section is actually pretty easy to get through, and all you need to do is summon Chompfin Echoes to attack the glowing orbs attached to Nulls Tentacles.
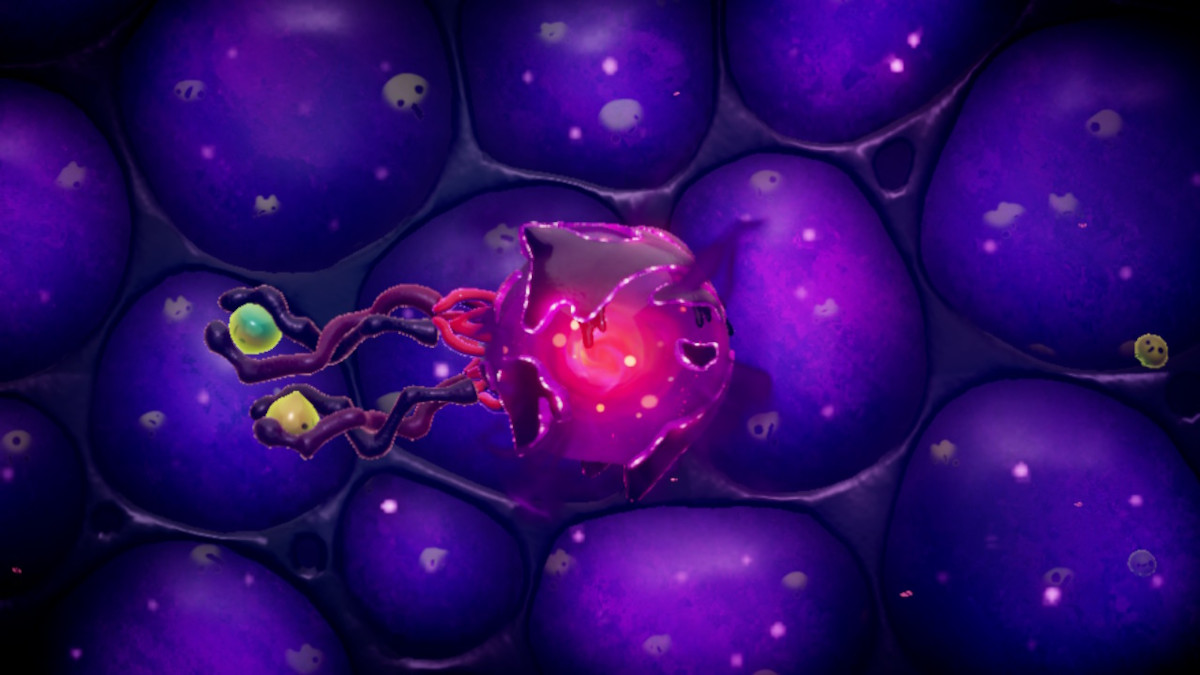
You’ll then move on to Null’s final form, which is much stronger and scarier than any of its previous forms and combines them into one formidable foe.
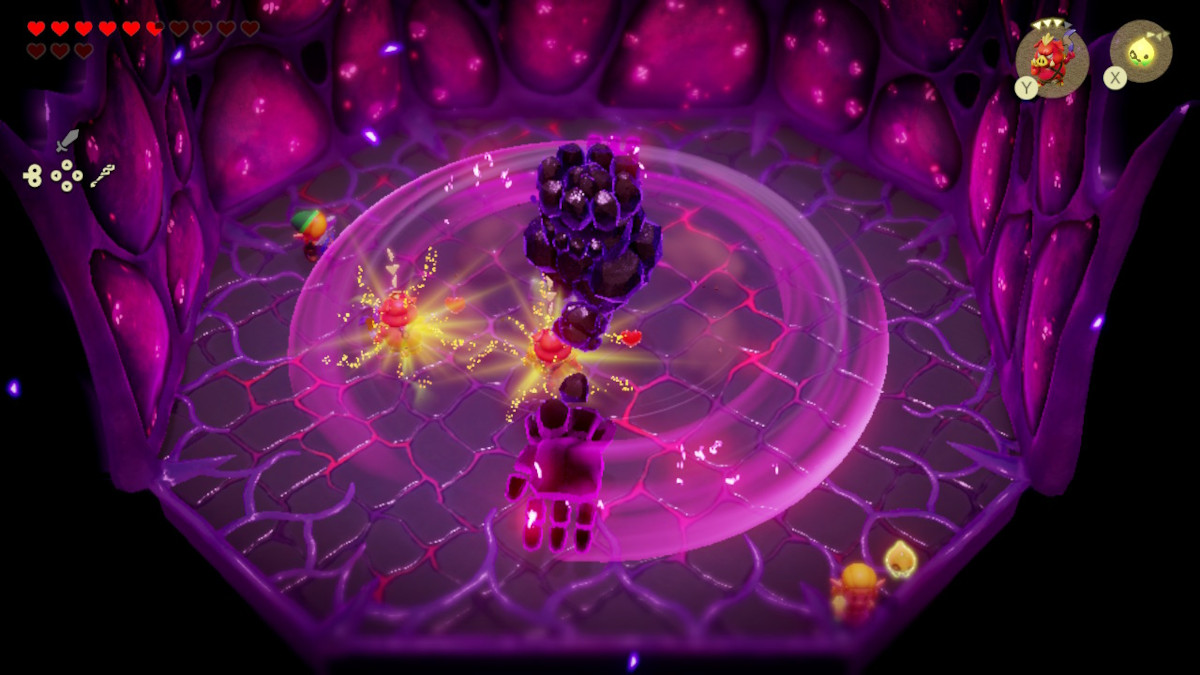
During this battle, Null will turn into Rift versions of some previously encountered bosses, using their attacks to deal a lot of damage. Here’s some key mechanics to look out for and how to avoid them:
- Seismic Talus – Stick to the walls to avoid the spinning arms
- Mogryph – Avoid the sandstorms
- Shadow Hands – Spin to avoid
- Ganon – Stick to the middle of the room and spin to avoid charges
- Skorchill – Summon Echoes to deflect
- Gohma – Burn webs with fire-producing Echoes such as Ignizol
This fight works in the same way as the first fight, with Null first appearing as an orb with both arms and tentacles, and then tentacles through the walls and floor while spawning Echoes that want to kill you. Again, focus on avoiding all of the incoming attacks and summoning Echoes to help Link in defeating Null.
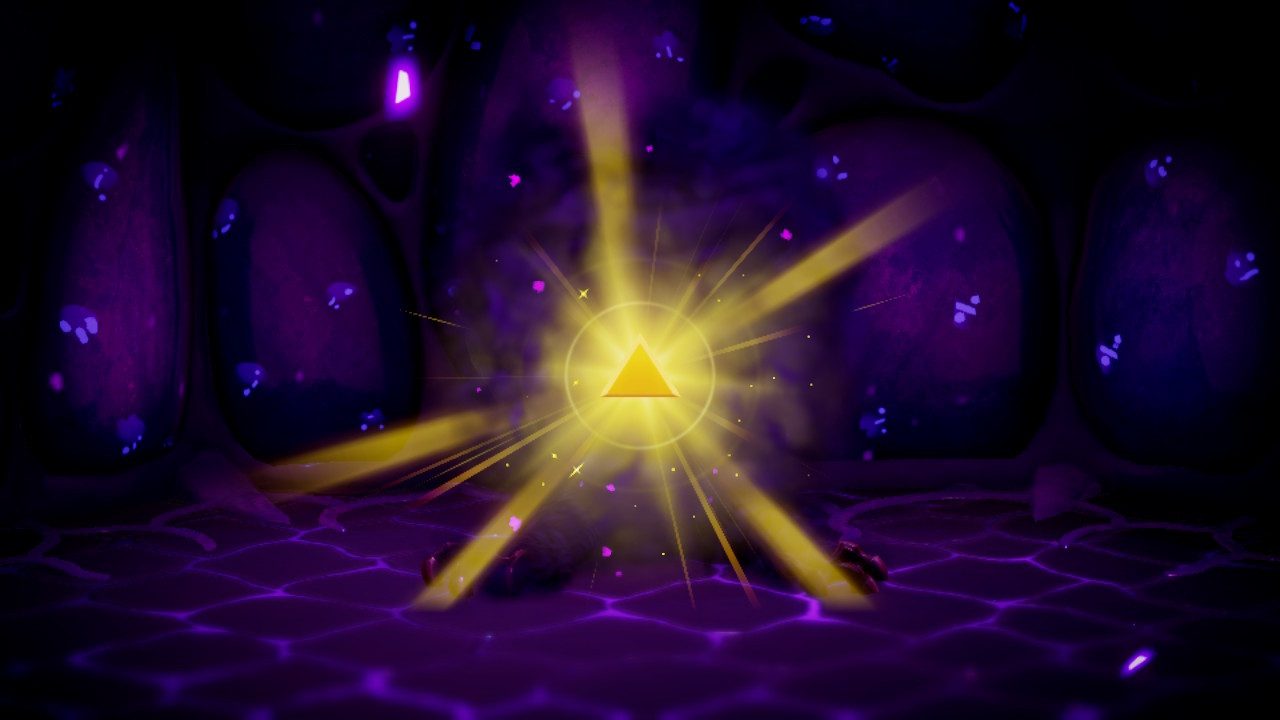
When Null falls for the final time, use the Bind ability to latch on to the Triforce inside Null’s body, pulling it free. This will finish this fight and restore the natural balance of Hyrule.


Published: Oct 6, 2024 1:30 PM UTC