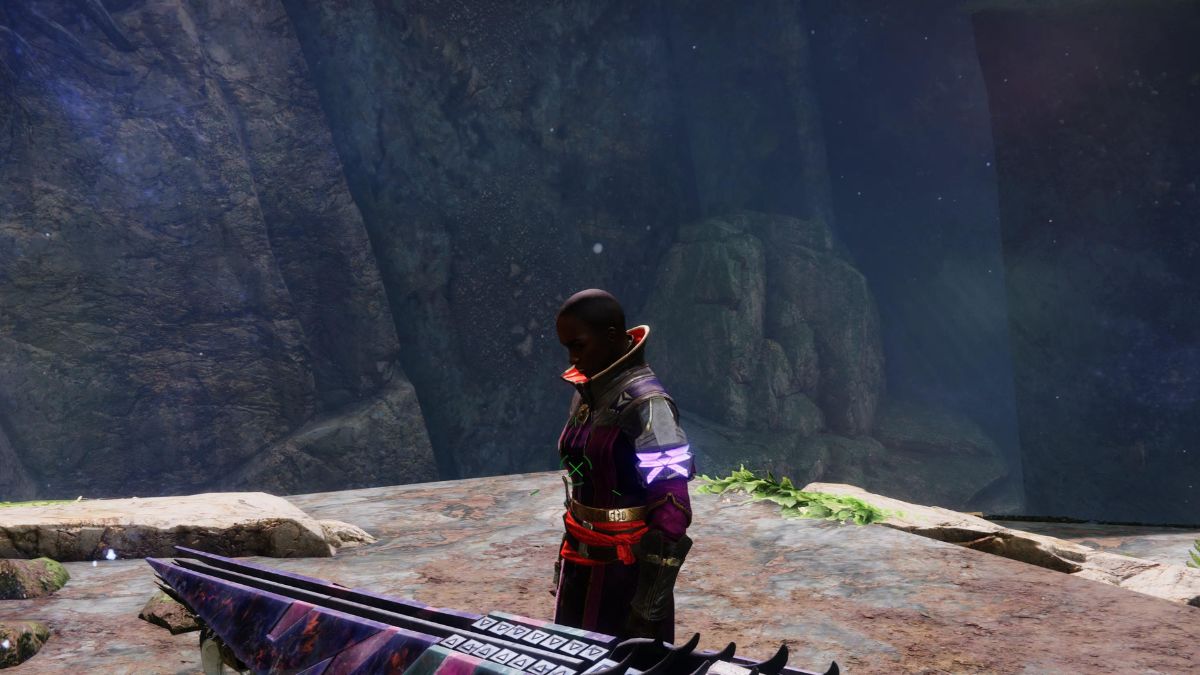
Exegesis is the third campaign mission in Destiny 2: The Final Shape. It sees players head out into The Pale Heart in search of Ikora, who has managed to follow you into The Traveler but has now become lost somewhere amid the chaos The Witness has created.
The campaign of Destiny 2: The Final Shape is a wild ride that sees you battle through The Pale Heart and encounter all sorts of strange enemies and mysterious puzzles. Exegesis is the first mission that really forced me to stop and think about what I was doing, which is why I’ve put together this step-by-step guide for how to blast through it without getting stuck.
How to complete Exegesis in Destiny 2: The Final Shape
Once you begin Exegesis in Destiny 2: The Final Shape, you’ll need to follow a quest marker to begin tracking down Ikora. The mission throws a lot at you quite quickly because you should have just picked up a nifty weapon from the previous mission and have some idea of what you’re doing.
Step 1: Use the Crystalline Keys and empower the Founts
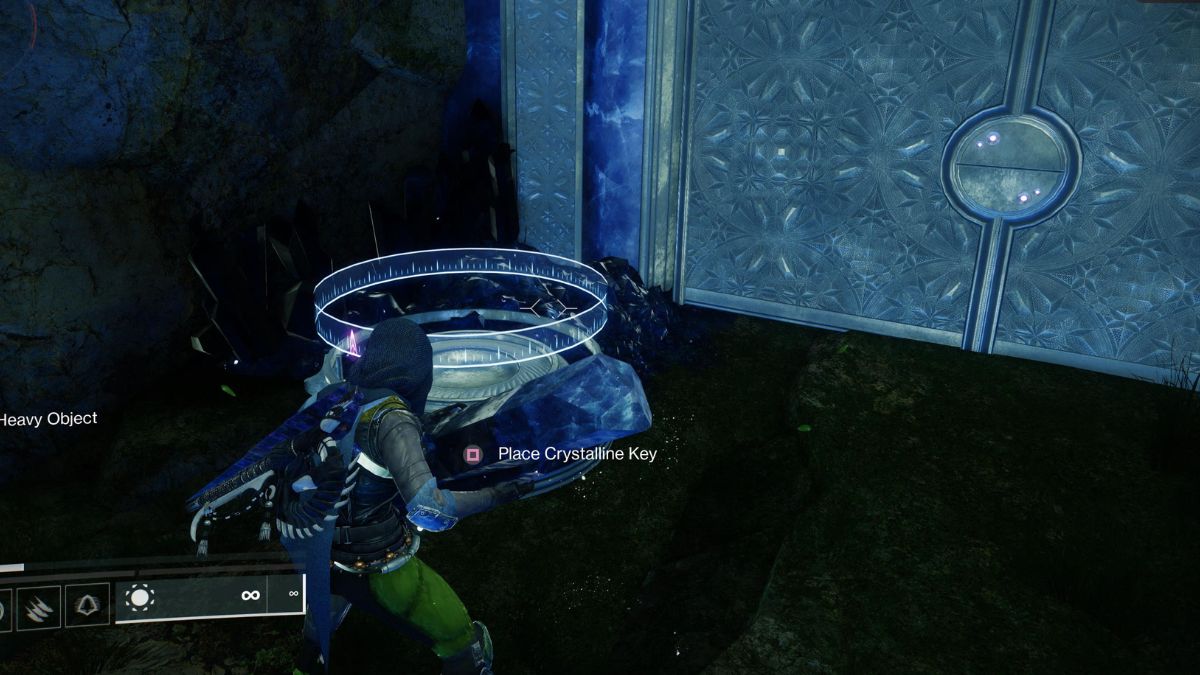
From the word go, this mission introduces new mechanics to Destiny 2. There are now doors with blue receptacles close to them requiring a Crystalline Key. These keys are easy to spot. They’re just giant blue crystals you must pick up and carry over to the door to unlock them.
Once you’re through the first door, you’ll enter a room with Hive enemies called Eaters of Light and Darkness and will see two circle structures. These are Founts of Light and Darkness. The Darkness founts are orange, and the Light founts are white.
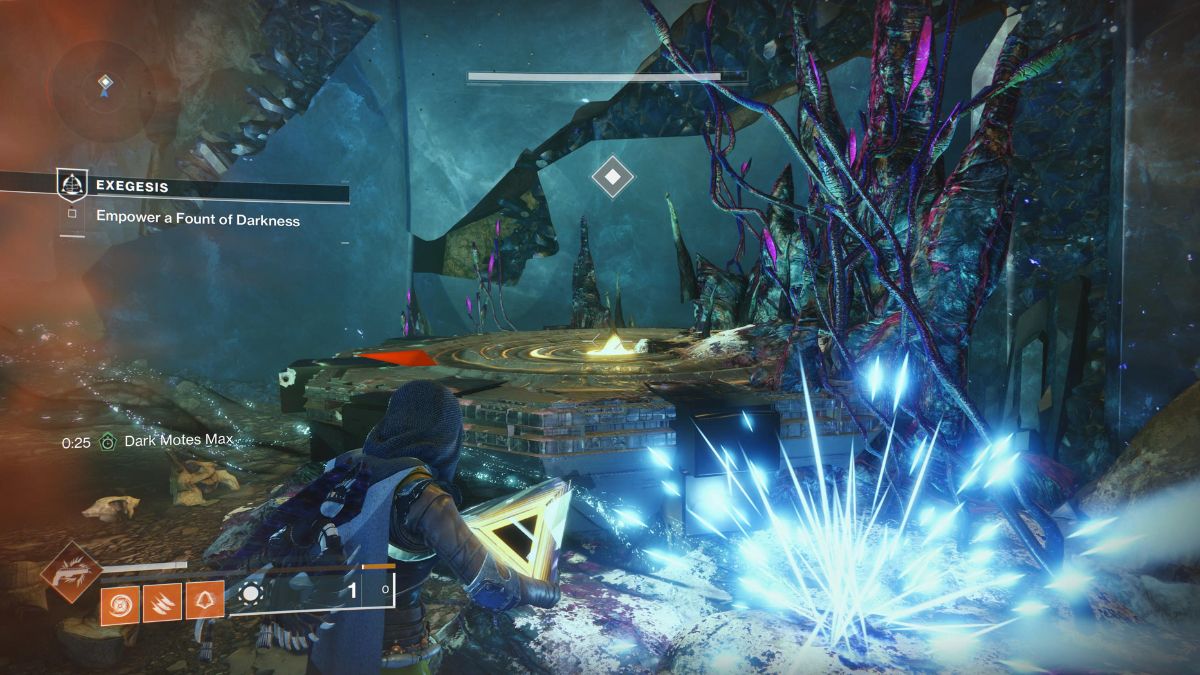
If you kill an Eater of Light and Darkness with your weapons, they’ll drop Darkness Motes. Pick up three of these to cause your Guardian to carry them in third person, and then drop them onto the Fount of Darkness. This will unlock the darkness barrier in the area and allow you to move forward.
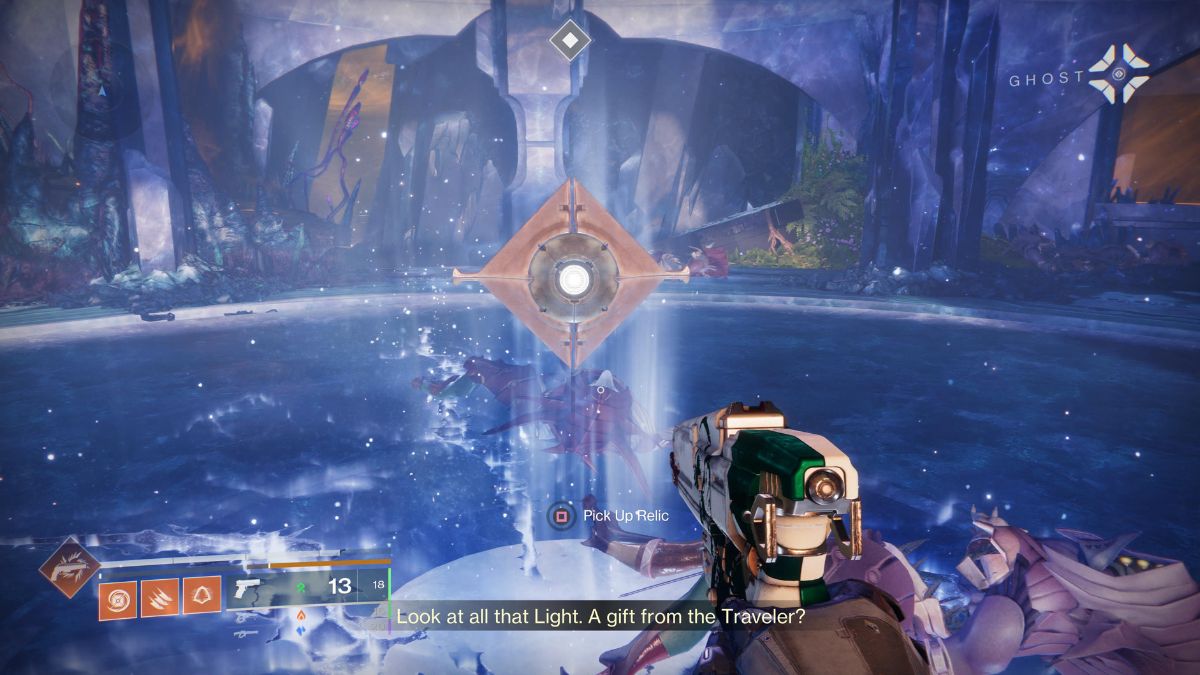
The next area is a circular room where you’ll be ambushed by Husks. Watch out for these guys because they’ll spawn Geis that will hunt you down and kill you. After an initial fight, two Eaters of Light and Darkness will spawn, as will a Relic.
Killing an Eater of Light and Darkness using the Relic will cause it to drop Light Motes. You must now Empower both the Fount of Light and the Fount of Darkness using Light and Darkness Motes in this room before the barrier to the next location will drop.
Step 2: Work your way through the Fount puzzles
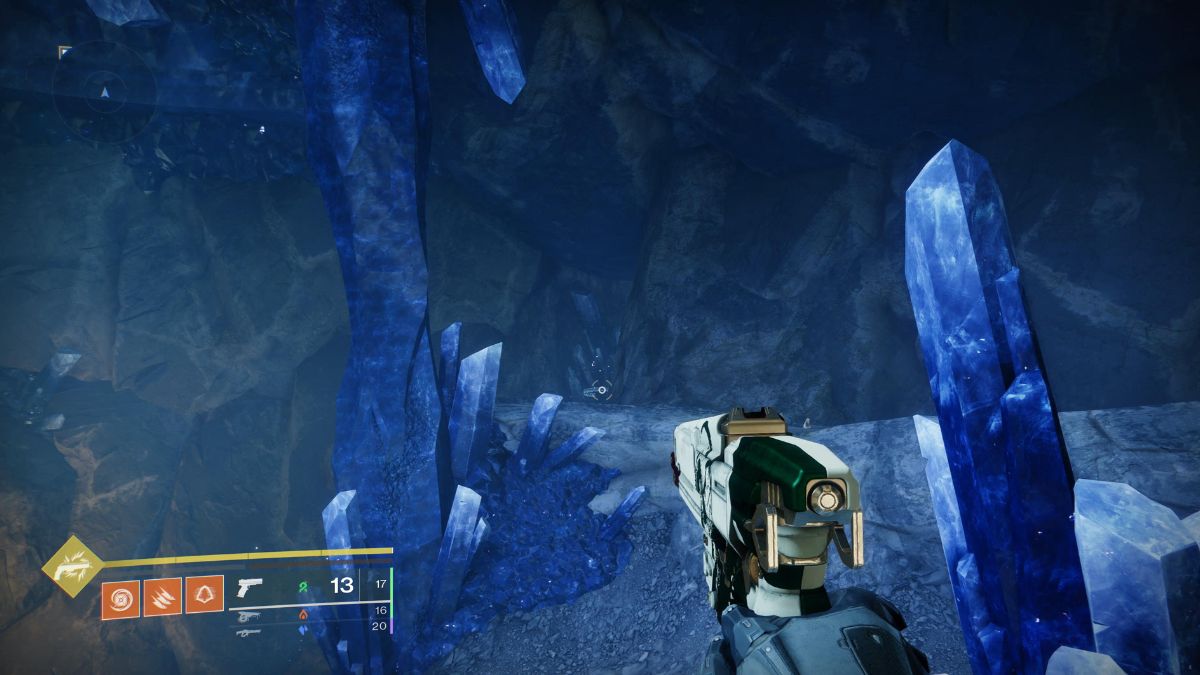
The next two areas combine all the mechanics you’ve just learned into puzzles. The first room also has a Fount of Light and a Fount of Darkness for you to empower. Once you’ve activated them, the barrier in the cave will drop so you can grab a Crystalline Key for the door and exit.
Watch out, though, because this will spawn a Bound Harbinger that you’ll need to kill before you can move forward. Look for the glowing Prismatic well in the cave that you can use to power up and take out its shielding quickly.
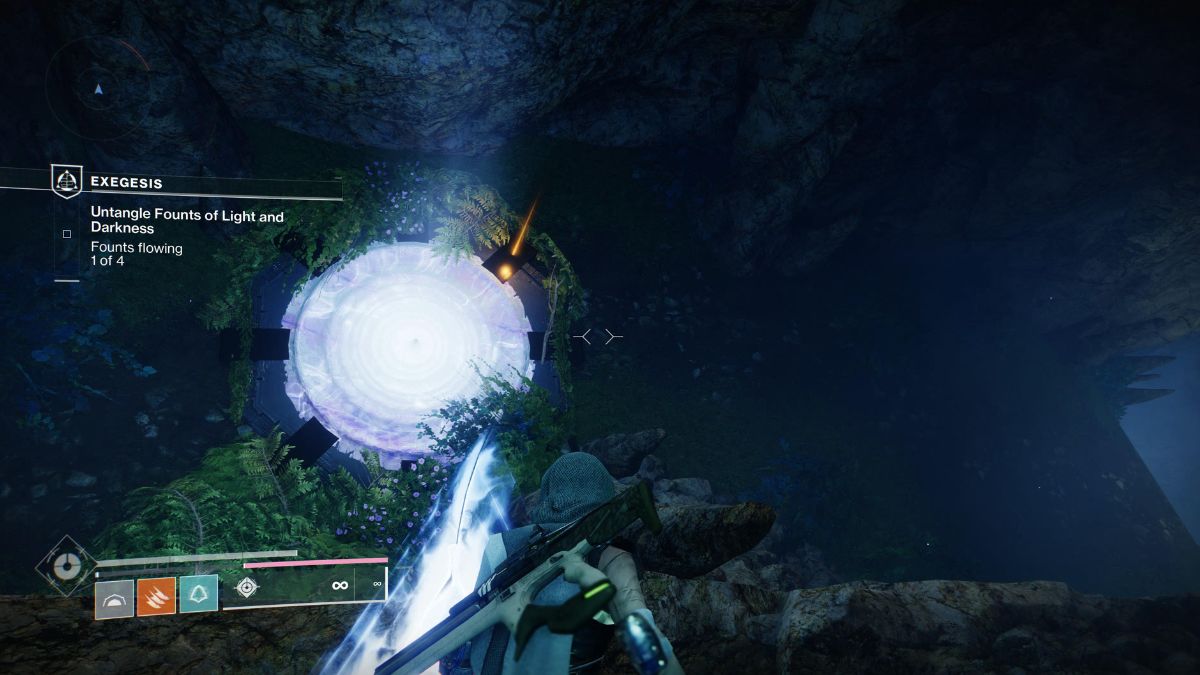
The next room is the most complicated puzzle in the mission. This took me much longer than I’d like to admit to figure out. At one point, I was just collecting Motes of Light and Darkness, empowering Founts, and hoping something would happen. But then I saw the clues and figured out how it all works.
The cave has four Founts, two of Light and two of Darkness. A Relic and Eaters of Light and Darkness will spawn, so you have everything you need to empower them all. However, you must empower the Founts in a specific order if you want to escape.
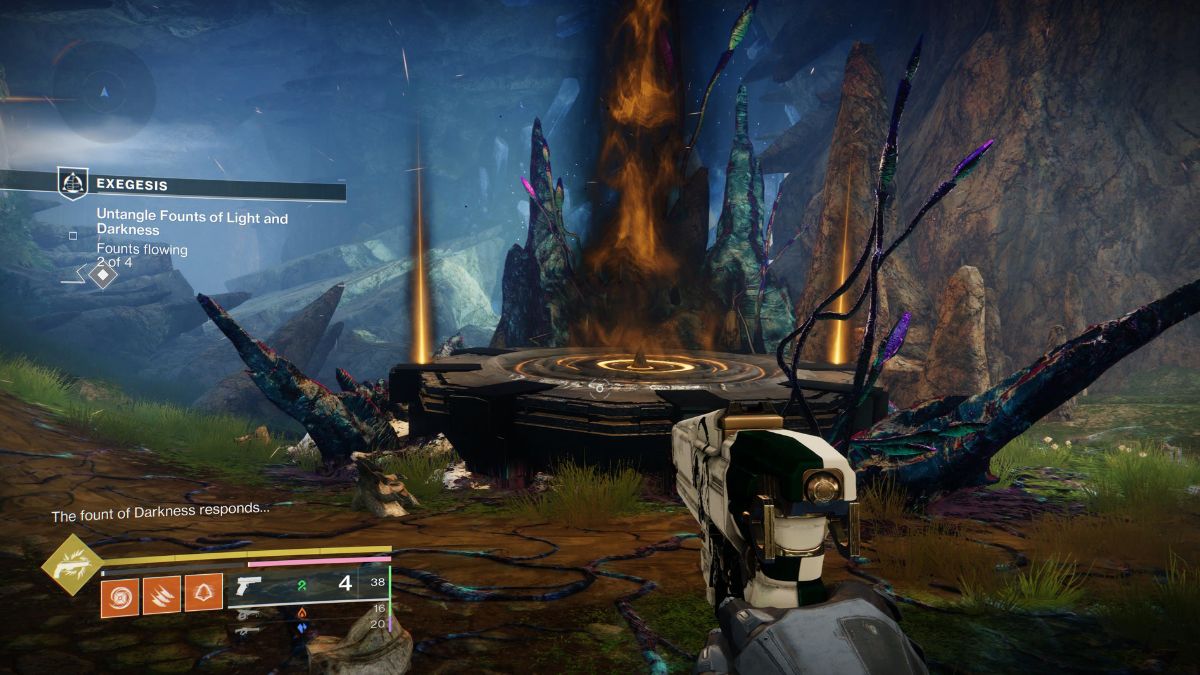
First, empower the Fount of Light positioned on the wall of the cave. The second Fount is a Fount of Darkness close to the first Fount of Light. It’s surrounded by rocks and is flat on the cave floor.
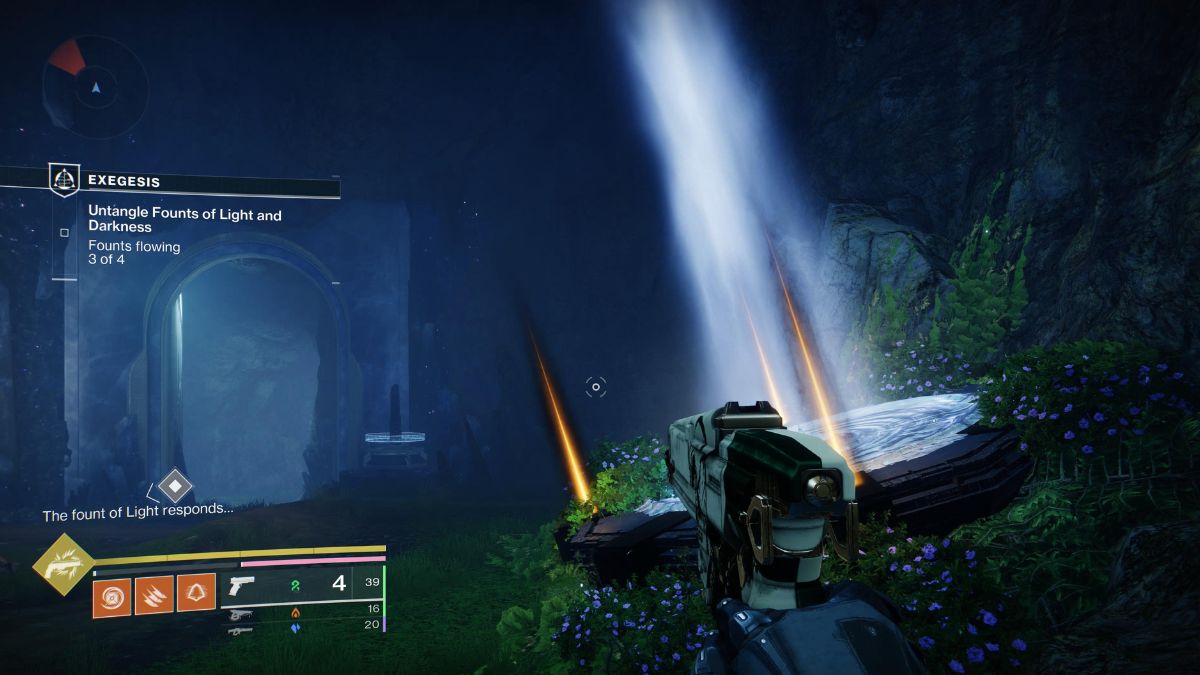
The third Fount is the Fount of Light in the back part of the cave. It lies on the ground against the cave wall close to the door that you need a Crystalline Key to unlock.
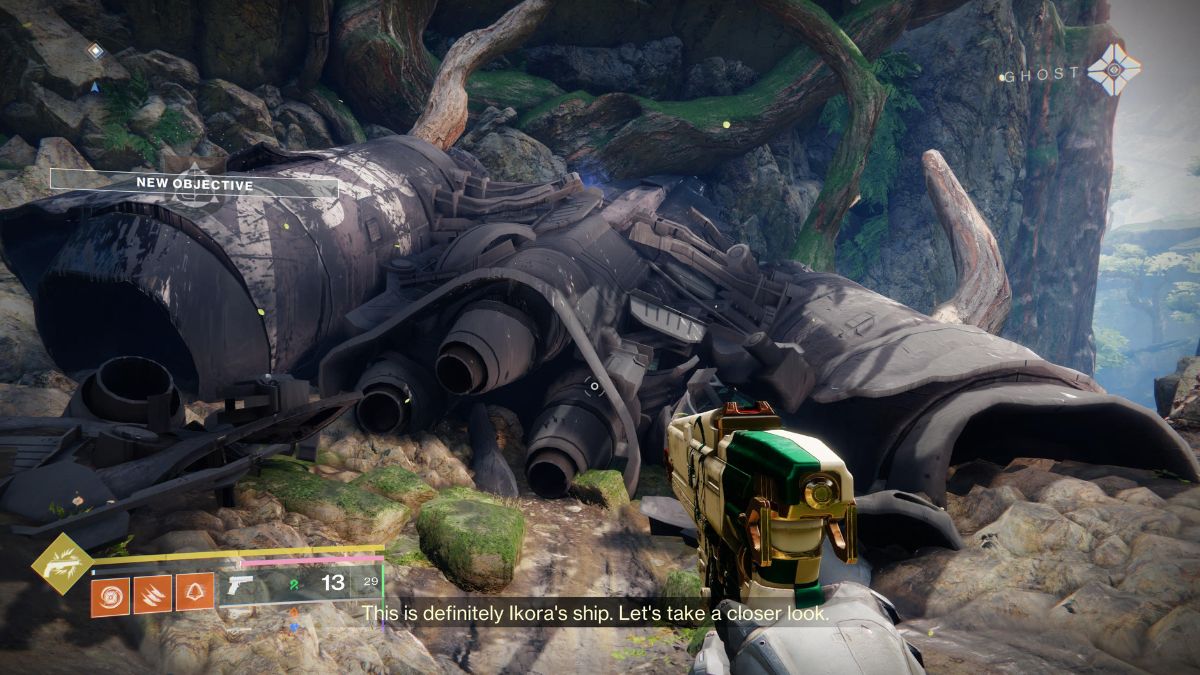
Finally, activate the Fount of Darkness on the wall opposite the glowing crystals. It’s the only Fount left in the area and should be impossible to miss. This will open the way forward and allow you to find Ikora’s ship.
Step 3: Kill Pillar of Silence
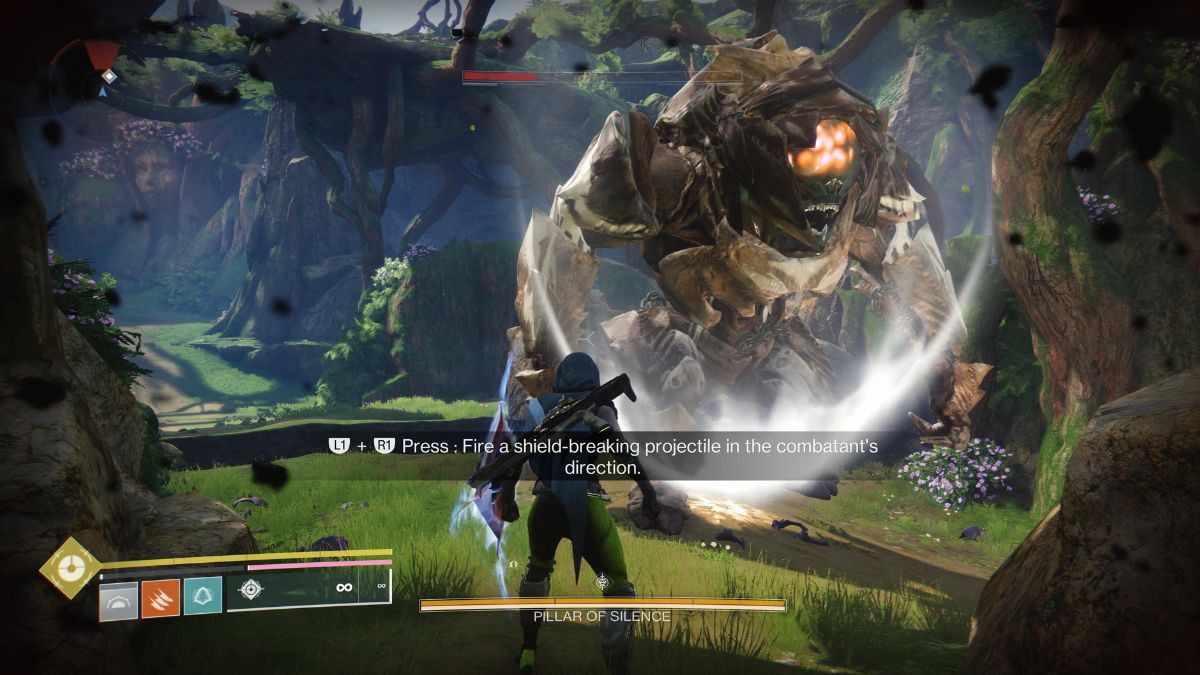
After scanning Ikora’s ship, you’ll move on to encounter a massive miniboss, the Pillar of Silence. This Ogre isn’t that tough to kill, but the mechanics around the fight make it a bit of a slog. First, pick up the Relic and follow the on-screen instructions to fire a shot of Light at the enemy. this will remove its shield and allow you to damage it. After taking out a third of its health, it’ll disappear.
Keep pushing on, and you’ll enter a cave where the real showdown with this miniboss begins. The cave is packed with enemies, so take them out first and get the Eaters of Light and Darkness to spawn. A Relic should spawn now, and that’ll give you a clue as to what to do next.
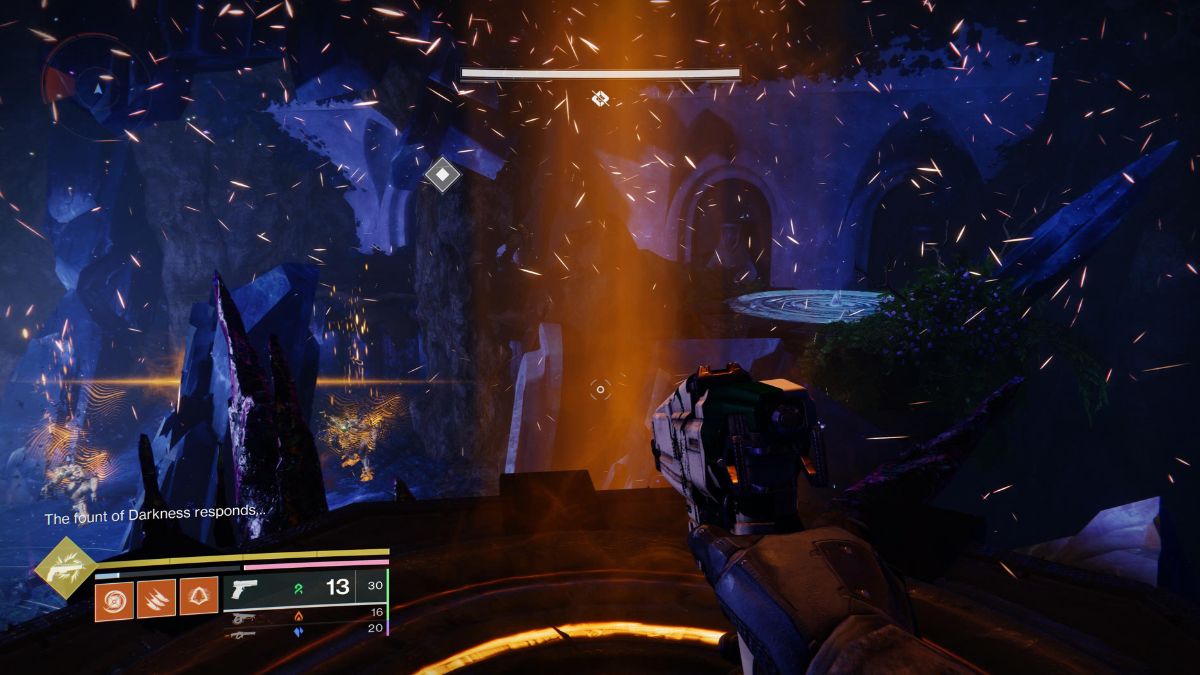
You need to empower the Fount of Light and the Fount of Darkness in the cave to get Pillar of Silence to spawn. Then, shoot it with the Relic and deal enough damage to trigger the final phase. This phase is the same as the second, but there will be a lot more enemies, so keep on top of them and take the boss down as quickly as possible.
Step 4: Find and defend Ikora
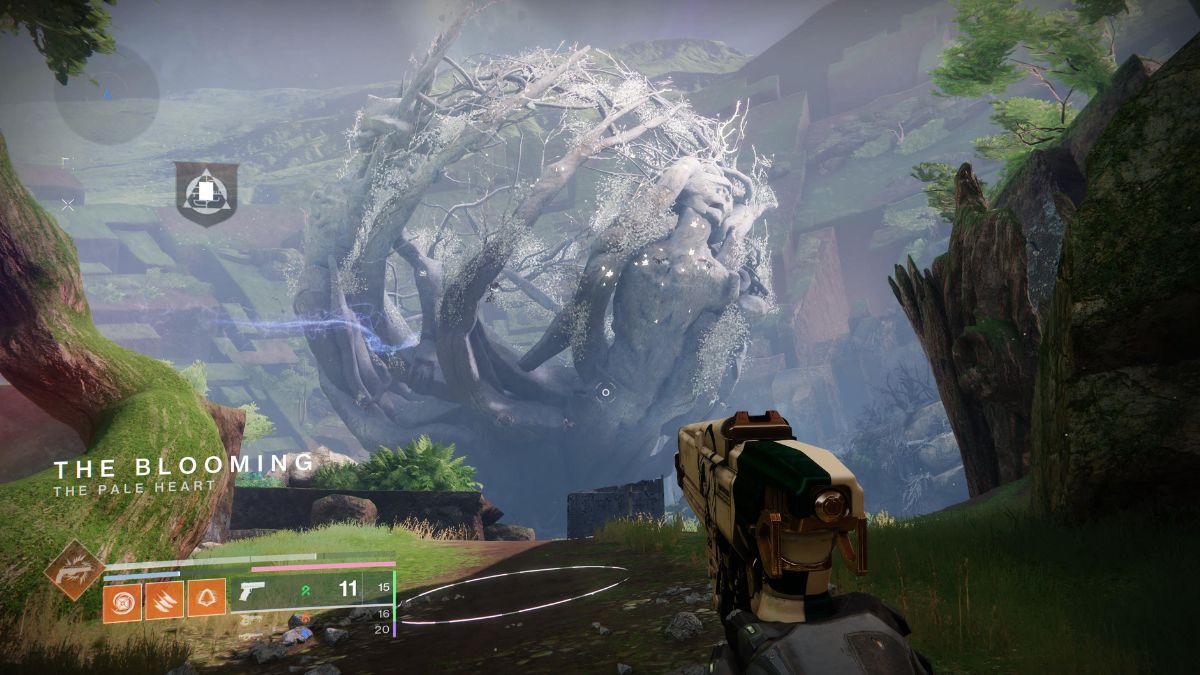
After beating Pillar of Silence, you’ll be transported to The Blooming, a new area in The Pale Heart. It’s here that Ikora is waiting up on some high rocks, but she’s meditating. That’s good because there are tonnes of enemies you need to deal with.
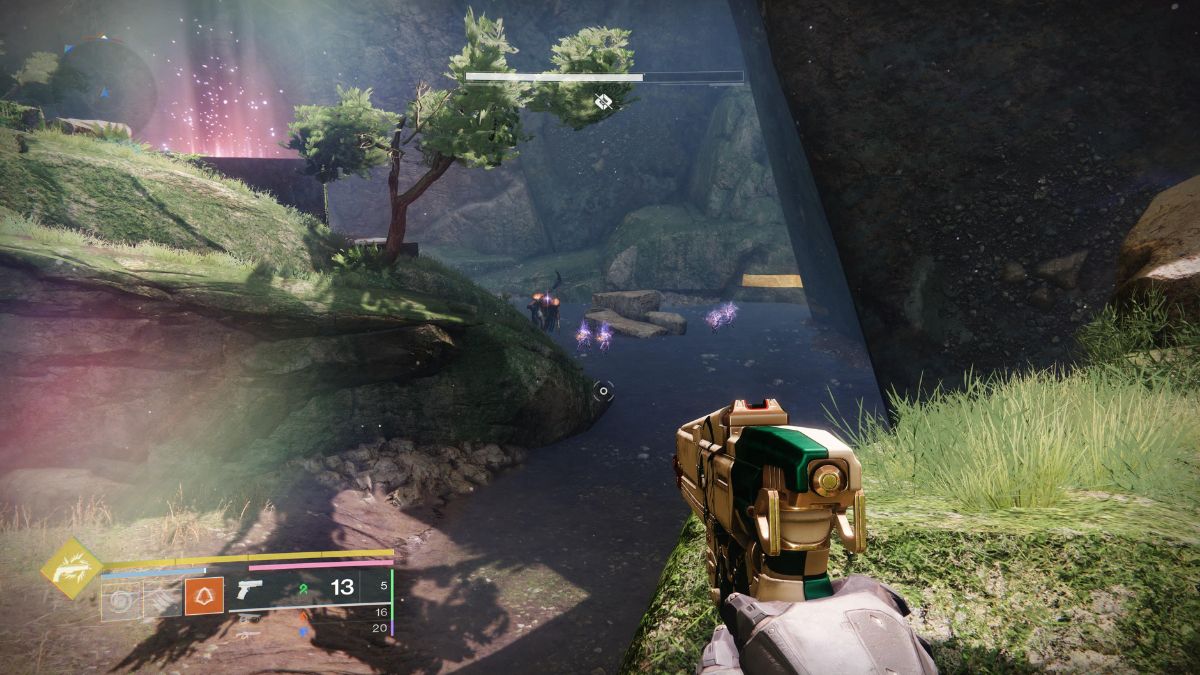
Start by making your way down the hill, killing every enemy that comes your way. Then, you should see some Bound enemies and a Tormentor lurking in the water in the distance. These are the last few enemies you must kill to complete the mission. Head to the Prismatic well higher up and use it as a vantage point to take these enemies out.
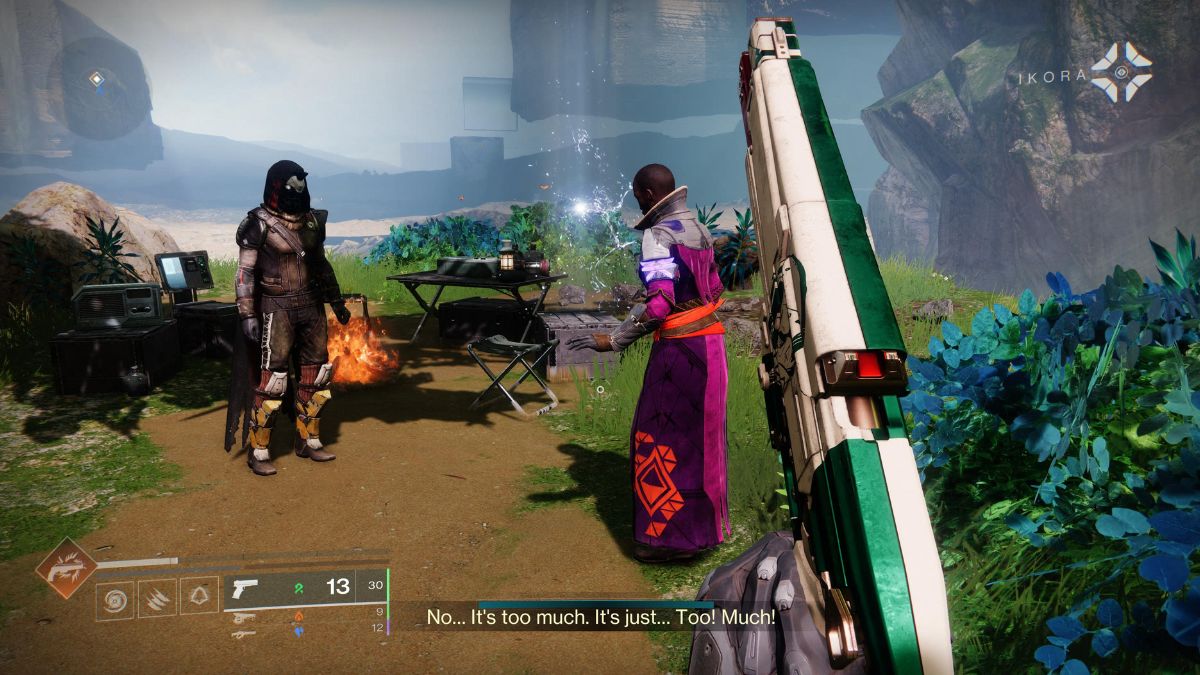
This is a pretty easy fight because the enemies won’t approach you. Just watch out for the Tormentor’s ranged attacks. Once you’ve killed these enemies, head over to Ikora and chat with her. This will trigger a new step where you need to speak with her at a campsite and see her meet Caybe-6 for the first time since he died. It’s a great moment and keeps the pace of the campaign moving without it all being action.
