Despite all my…
For as ridiculous as it seems on the surface, Rage 2 can actually get pretty tough and bury some of its secrets deep within the crevices of its open world.
Here’s some help deciphering them.

Purple line dishwasher
When driving from place to place, always set a waypoint and use the purple breadcrumb lines! I can’t tell you how many times I drove round trying to take a shortcut and ended up falling into a pit, requiring me to backtrack.
There are a lot of bridges in Rage 2‘s overworld, so using the purple lines will help you navigate around them.

Don’t hold out for the mystery box, open chests now
In 90% of games, cracking open chests is near useless, but that’s not the case for Rage 2.
In each marked location on the map (either a side mission or an innocuous area of interest) has Ark chests (major rewards, like skill-increasing upgrade items) or storage containers. The latter are extremely common and contain huge caches of money (which you can use to buy nearly anything in the game) or Feltrite (upgrade crystals).
Every single storage container matters. Just one location can net you an entire upgrade in most cases. Don’t leave until you’ve found them and checked them off the HUD list!

An item is an item, no matter how small
Either during boss fights or after the carnage, clear out the entire arena for ammo. Often times you’ll need to either continue the fight or go back to a hub location and buy more ammo, so grabbing all the shells you can will help you on future missions.
Look for purple points of interest everywhere (usually cabinets) and vacuum up every bullet.

Always guard your pepperonis Go into battle prepared
Get used to utilizing the two-gun swap mechanic to your advantage. You’ll frequently run out of ammo early in the game with many weapons, so make sure your quick swap (Triangle/Y) slot is always something that’s fully loaded. Hold Y, select your full primary, then hold Y again and select another ample gun.
Pressing Y will swap between those new designated pieces of gear. Do the same for your thrown consumables: you don’t want to hotswap during a big fight.

Here’s how fast travel works
Fast travel can be a bit confusing. When the game begins you can only fast travel between the three main hubs and only when you’re near your vehicle. Select the hub from your map and press Square/X.
It sounds simple, but it can be finicky if you’re not close to your vehicle or are deep into a mission location, even after said mission is complete. If all else fails, go into your car and drive away a bit, then try to use fast travel.

You can fix your ride for free
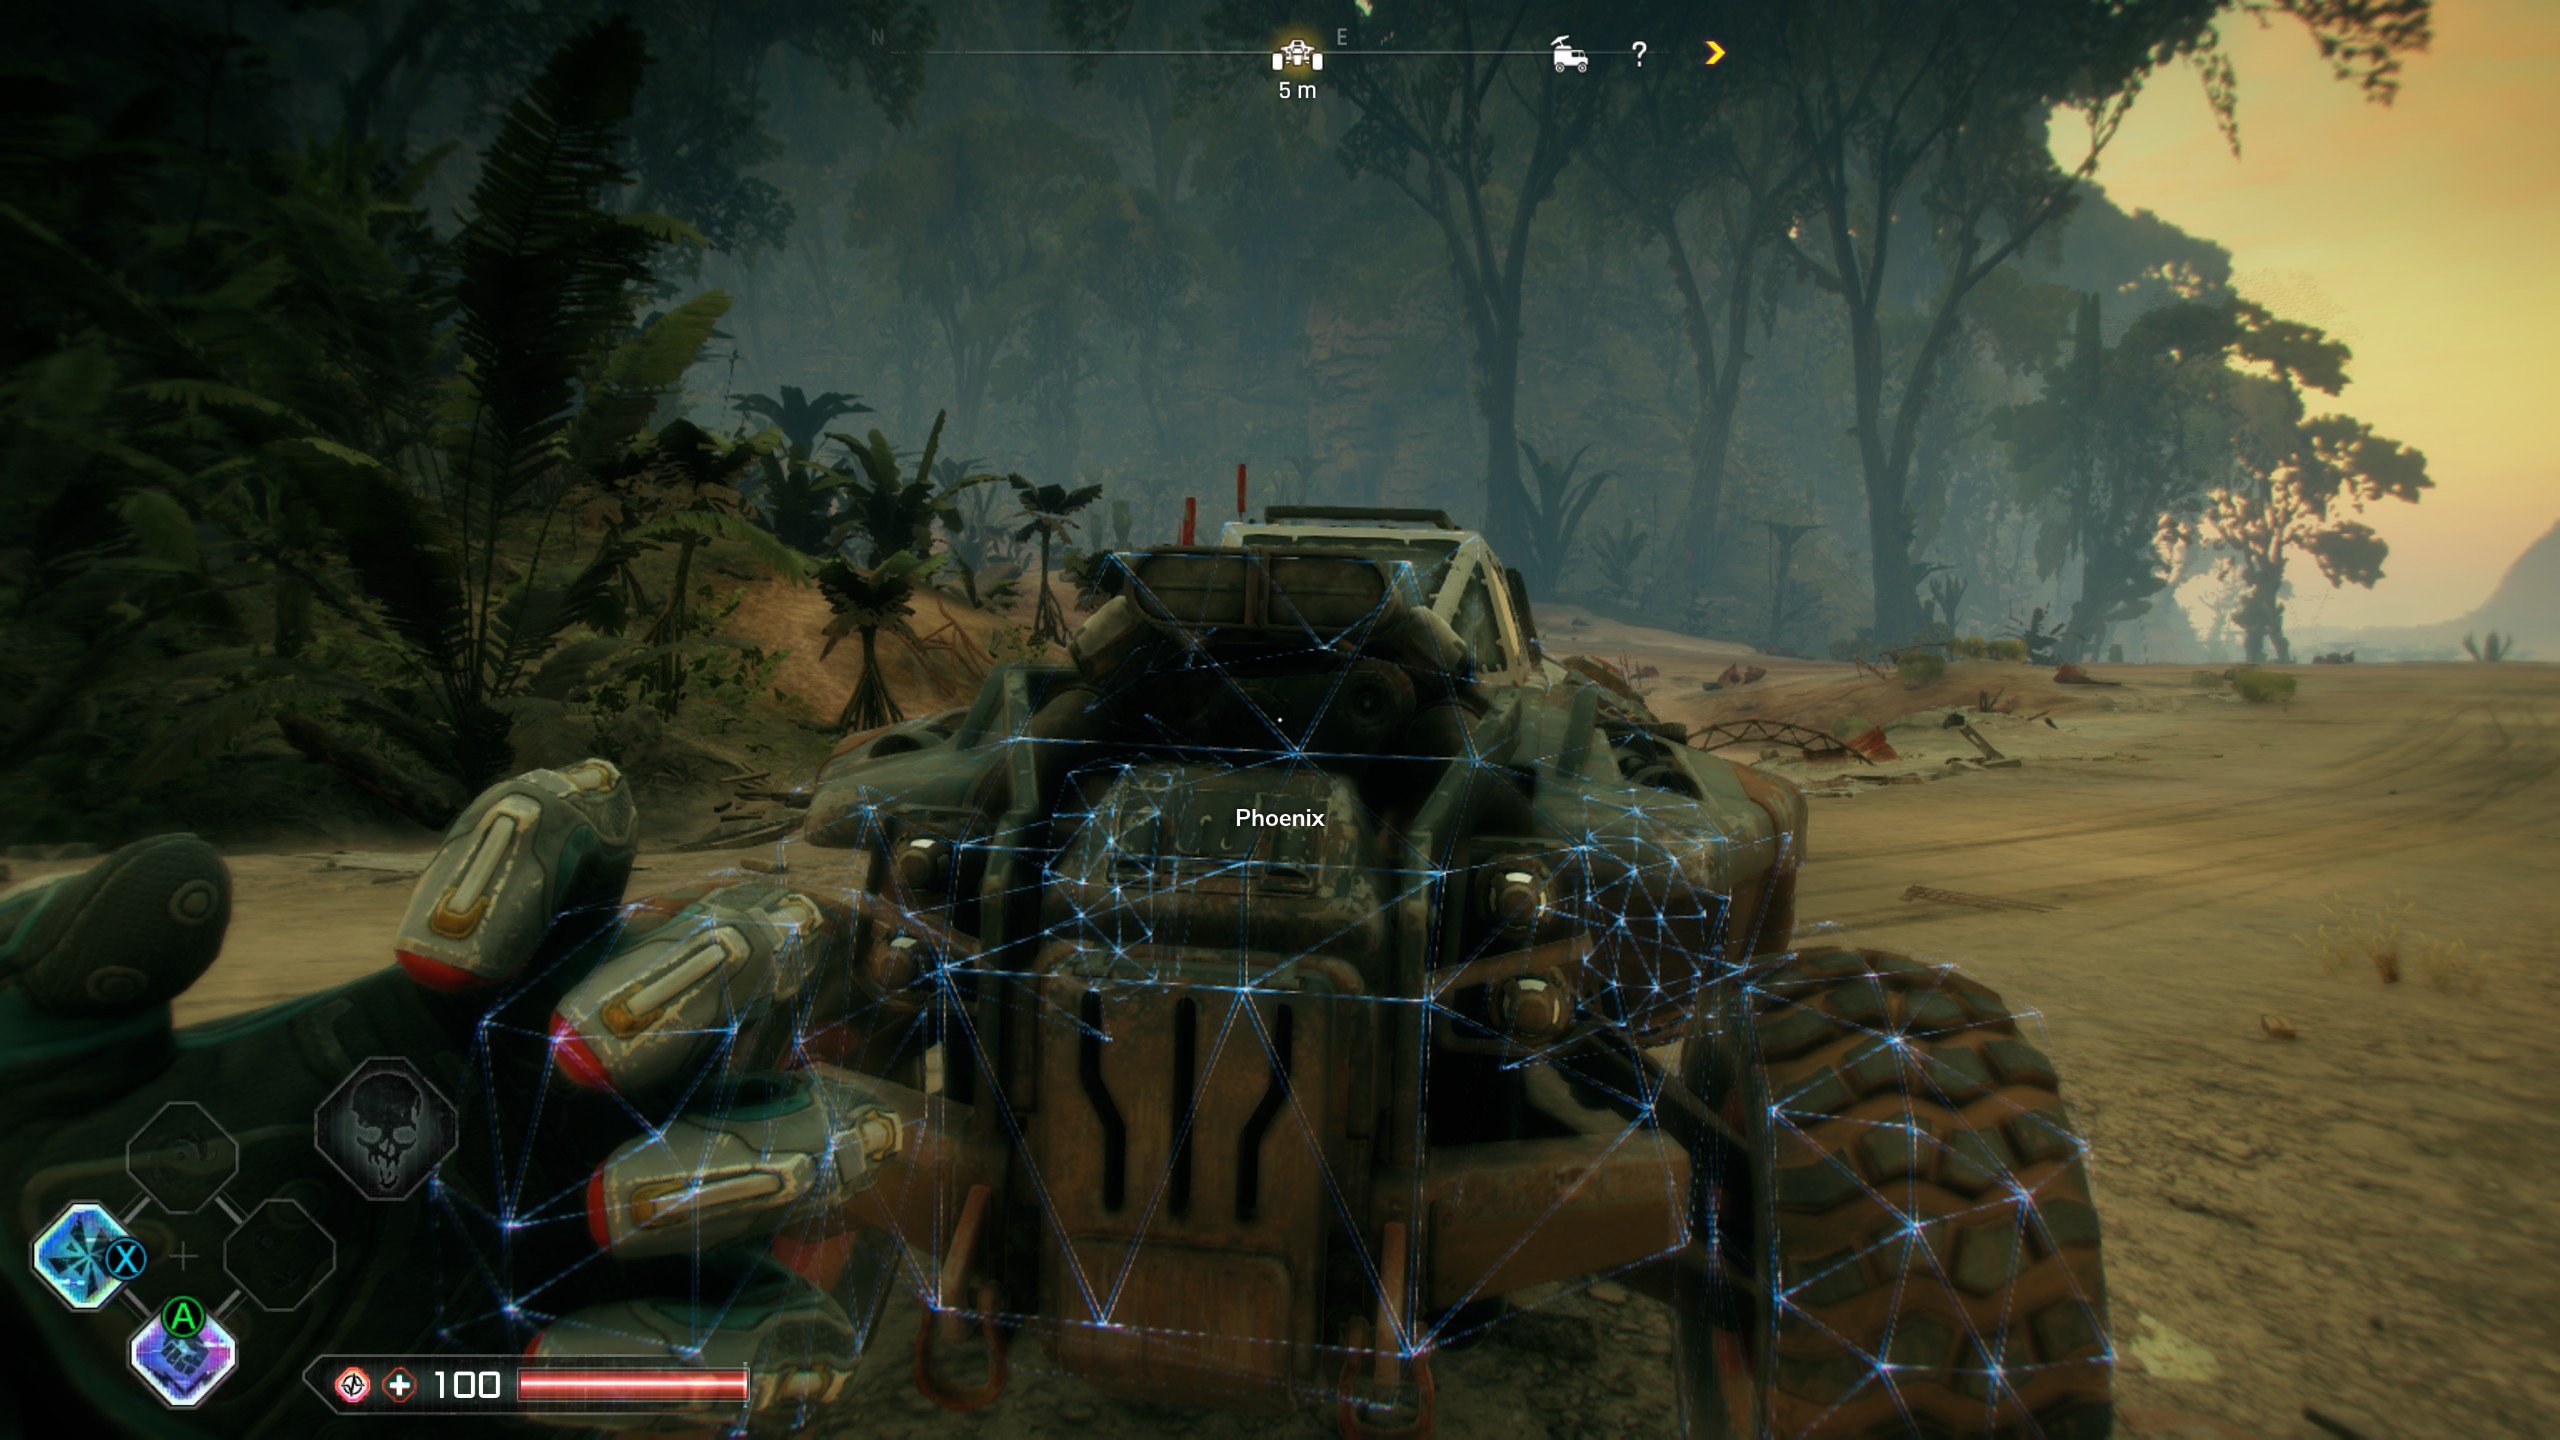
Your initial car is a lot like the Batmobile. It talks to you, it has machine-guns (okay more like Nolan’s Batmobile), and it’s nigh invincible. If your vehicle shields are depleted it won’t “blow up,” it’ll just become nonoperational. To fix it again you’ll need to get out of the driver’s seat, go to the front (the engine, basically), and hold L1/LB to replenish its meter.
Once that’s done you’re good to go back in. Just note that during a fight it’s tough to actually focus on repairs, so clear out enemies first.


