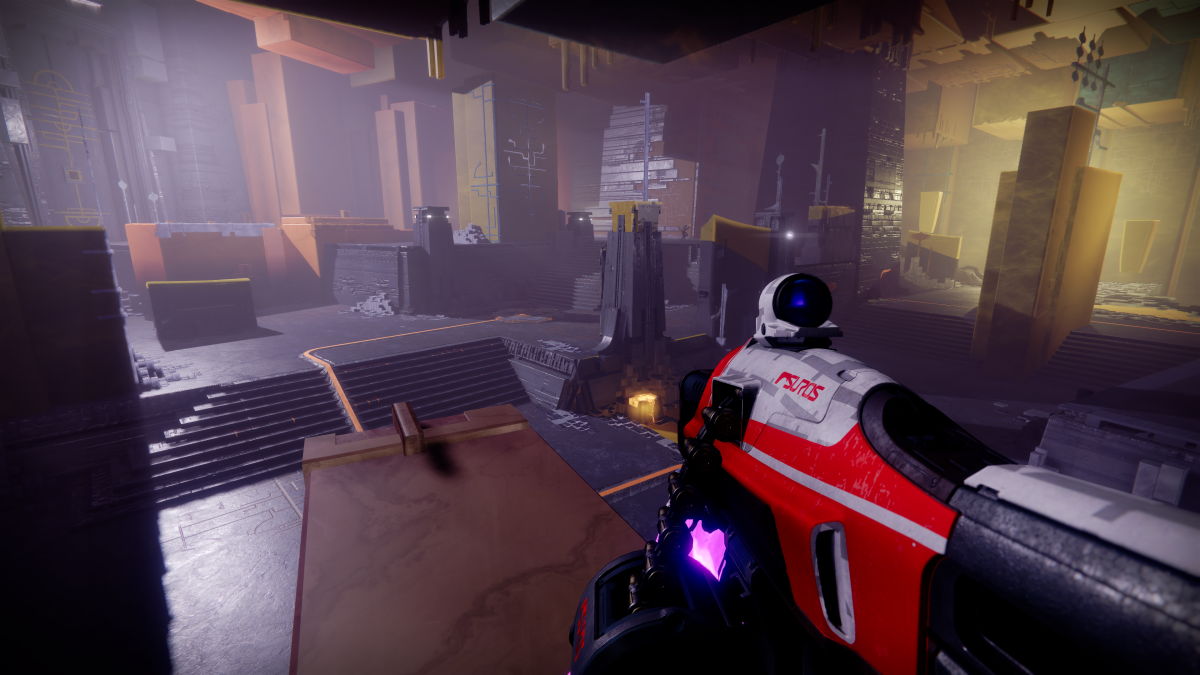
The Salvation’s Edge Raid is available in Destiny 2, and now that Bungie has crowned a winner to the Raid race, other players are starting to enter the fray. Salvation’s Edge isn’t like most other Destiny Raids, prioritizing puzzle encounters over boss damage dumps.
The first couple of encounters, Substratum and Dissipation, set the course for what’s to come, and Repository takes the mechanics learned to the next level. Not only will players have to manage their own plates to juggle energy and Resonance, but they’ll also have to be ready to swap with others at a moment’s notice.
Loadouts and gear for Repository

Repository is another puzzle encounter without a boss, like Substratum. As with the two previous encounters, several parts of the endeavor will see players alone and surrounded by enemies. With that knowledge in tow, it is vital that Guardians equip themselves accordingly. Players ought to have some way to heal in a quick pinch, whether by equipping a Solar healing grenade or with armor mods like Recuperation.
The encounter features Dread Husks, Subjugators, Tormentors, Scorpius Turrets, and Cabal enemies. While the conductor dunkers must land the final blow on the Tormentors, everyone should come equipped to help with the tanky foes. A machine gun performs handily and also works well to mop up the other enemies. Otherwise, Guardians may want another weapon with some range for hard-to-reach Scorpius Turrets and Subjugators.
Salvation’s Edge encounter map (Repository)

This encounter is spread across three rooms, each containing three sets of plates and three conductors. In the first room, each plate’s wiring runs straight to its conductor plate. However, in subsequent rooms, wires are crossed. This may mean the middle plate runs energy to the left in the second room or to the right in the third. Guardians will need to be quick on their feet and quicker to call out changes.
Repository, Room one

The Fireteam should split up into three teams of two, with each duo owning a set of plates. Like with Substratum, a Guardian can collect the Pyramidal Resonance and dunk it in the chest to start the fight. After things kick off, three Tormenters appear, one for each plate set. The conductor plate player for each team should land the final blow on the Tormentor, but other players can help whittle them down.
When the Tormentors are defeated, the players that landed the finishing blows should receive the Stolen Valor buff. Stolen Valor allows players to see which Resonance they’ll need to close their conductor. Guardians will notice that the Resonance they need is not located around the conductor they started at, but that’s okay. Players should still work to bounce the energy back and forth, collecting the Resonance that appears nearby as they go.

Once all players sit at three Stacks of whichever Resonance is nearby, conductor players should coordinate a swap. Each conductor player should call out which Resonance is needed to close their conductor, and then the three conductor players should hit one more plate bounce and beeline it to their new destination plate. Once there, conductor players can immediately shoot their Crux and lock the conductor before missing a bounce.
If a bounce is missed during the process, a Subjugator appears on the matching conductor plate. Meanwhile, Scoprius Turrets spawn in high alcoves and out-of-reach areas, and the starter plate players should prioritize these deadly foes between bounces.
Once all three conductors are closed, the dunk chest will reappear in the middle. As with previous encounters, everyone should dunk their Resonance to increase the encounter timer. Shortly after, an Unstoppable Cabal Champion will appear in the back of the room, along with more Scorpius Turrets up high. A few seconds after this baddie goes down, the back doors will open, leading to the next room.
Repository, Room two

Thankfully, once players have experienced the first room in the Repository encounter, they already know what to expect from the next two. The mechanics and flow of the battle don’t change as Guardians move forward. Instead, wires get crossed. Heading into the second room, the left plate’s wiring runs to the middle conductor and the middle plate runs to the left conductor. The right side is still a straight shot.
Like the first room, players will eliminate a Tormenter, making sure the conductor player lands the kill, and stack to three Resonace before conductor players swap places to lock the correct conductors. As with the first room, once all three conductors are locked, a chest will appear on the floating platform in the middle. Again, players will want to dunk all of the Resonance they have to extend their time and then rush over to the back left or right to burn down an Unstoppable Champion and open the next door.
Repository, Room three

The third and final room is a continuation of the same process; only all of the plates now have crossed wires. The middle plate runs to the right, the left runs to the middle, and the right runs to the left conductor. The only other consideration in this final room is the spawn location of Resonance. Resonance appears to spread out across the chamber in the third room and sometimes even high up atop pillars or architecture. It can be daunting to try and nab two Resonance stacks before grabbing the specific Resonance type needed to close a conductor.
That said, this is the final room in the encounter, and it ends as soon as players defeat the last Unstoppable Champion. So, if desired, the group doesn’t need to wait for everyone to have three stacks of Resonance, as the additional time gains from dunking won’t be necessary. If players are having a hard time surviving into the third room, a viable option is only to grab one or two stacks of the needed Resonance, coordinating with other teams to let them know your conductor will be closed early.


