
With the winners crowned from Destiny 2‘s 48-hour Salvation’s Edge Raid race, it’s time for everyone else to see what The Witness is hiding in its monolith. The first encounter, Substratum, set the pace for the puzzle-focused bouts in Salvation’s Edge, and the second encounter, Dissipation, continues that trend.
Not only will players continue the mechanics learned during Substratum, but Dissipation also throws a few extra twists into the mix. Everyone on the Fireteam will have to be ready to take on all roles, as the fight randomly assigns certain mechanics to players.
Best loadouts and gear for Salvation’s Edge

While a lot of the second encounter in Salvation’s Edge is like the first, one significant difference is the presence of a boss. As such, players will want to equip some heavy DPS weapons, with swords working exceptionally well. It’s even better if someone in the Fireteam has an Ergo Sum Exotic sword with Wolfpack Rounds, buffing all other Guardians using non-Exotic swords.
Like the first encounter, players will find themselves alone at points throughout Dissipation. It’s vital that Guardians can keep themselves alive to perform mechanics as needed, so players should have something in their loadout to help them survive. This could mean a Solar healing grenade, a Warlock’s Healing Rift, or even health regen via armor mods like Recuperation or Better Already.
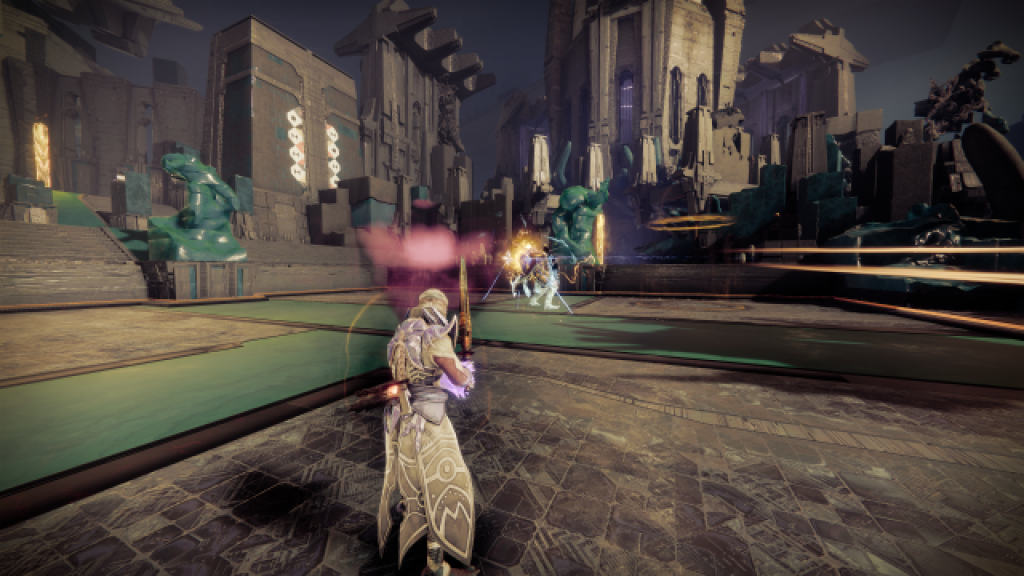
Salvation’s Edge raid layout for Dissipation

The Dissipation encounter occurs in one large, open arena. The boss resides in the middle, and there are three areas where Guardians must direct their attention. There are two plates and a conductor to the left, right, and where players enter the arena. The Fireteam will want to split into three teams of two, with each team taking over an area with plates.
Like the previous encounter, one of the two plates will be a starter plate, sending a burst of energy to its partner. This means both players on each team will have to bounce the energy back and forth reliably.
Dissipation: Phase 1

Shooting the Blight in the center of the arena starts the encounter, and each of the three groups should position themselves at the beginning of their areas. Yellow bar Taken will begin to appear on the sides of each location, and after eliminating the foes on each side, a Taken miniboss spawns.
Soon after the miniboss appears, a random player on that team gets the Call to Reckoning buff. Those with Call to Reckoning should head into the middle area with the boss, taking down any Taken Knights along the way.
Once within range, buffed players can shoot the boss’ head, stopping to pop any Blights that appear. The Call to Reckoning players cannot damage the boss’ head enough to progress the encounter until all Blights are eliminated, so taking care of those should be a priority. One Blight also spawns near the entrance to each of the three plate areas, so the Guardian that didn’t get Call to Reckoning should be on the lookout for a Blight as soon as they finish their miniboss.
When all the Blights are gone, and Guardians have done enough damage to the boss’s head, it’ll erupt with orange light. This changes the Call to Reckoning buff to Stolen Valor, allowing players with the buff to see which type of Resonance is required for their team’s conductor. Stolen Valor players should return to their teammate and communicate whether the Crux at the center of the conductor shows a circle or a triangle.
Dissipation: Phase 2
Players can take positions by their plates when all three teams are reunited, and the conductor callout has been communicated. From there, each group can begin bouncing energy back and forth to generate Resonance. Dissipation, unlike Substratum, throws more than one type of Resonance at players. In addition to Pyramidal Resonance, Spherical Resonance will also appear.
The player closing the conductor will need the same type of Resonance as the Stolen Valor buff revealed. That said, Guardians can pick up any kind of Resonance for the first two, as the third Resonance will change all stacks to that type. As long as the last Resonance collected matches the conductor reading, players won’t have trouble closing their conductor.
If all three teams close their conductor, a dunk box will appear at the back edge of the arena. Players should quickly move to the box and discard any remaining Resonance to extend the encounter timer before heading over to damage the boss. The boss will throw Blights and stomp on players, but a little healing and the oppressive nature of swords should leave Guardians in a manageable position.
Once the boss is almost defeated, it will enter a final stand, leaving about 30 seconds for the group to finish the fight. If the Fireteam does not do enough damage to push the final stand, everything resets for another go around.


