As a great big fat guy, I’m not a fan of lava levels. The heat is simply unbearable. Give me a nice arctic level where I can bundle up with a cozy hot cocoa, and we’re in business.
Astro Bot does have plenty of variety in its levels, and the Feather Cluster’s Cannon Brawl is a hot take on pirate ships and lava. Here’s how to beat the heat and nab each collectible on the way.
Where to find every bot and puzzle piece in Cannon Brawl
Cannon Brawl Bots

Bot 1 (Archstone Explorer): After obtaining the Muteki power-up, follow the path until you come across the checkpoint and Muteki trampoline. Jump down to the right and hop in the robo-croc’s mouth. By staying in ball form, the robo-croc will carry you across the lava. From, there, bounce up to the Slayer of Demon’s bot.

Bot 2: The second bot is located on the sinking dock. Rush across after landing and take out the bots threatening your friend.


Bot 3: After using the Muteki power-up to move across the narrow bridge, go to the right and use your ball form to get through the small hole. On the other end will be a skeleton in a barrel surrounded by bots. Take care of the entourage, pull the stopper on the back, and push in the correct block to rescue the third bot.


Bot 4 (Nexus Dweller): Head back the way you came and use the Muteki power-up to move across the bridge of legally distinct Thwomps. Once across, turn around and jump on top of them. Make your way across to the metal box at the end. Destroy it to reveal a volcano that will launch you to the top of a large cannon. Hop inside and use the Muteki power-up to work your way down the ramps and to the Maiden in Black.

Bot 5: The fifth bot is nigh impossible to miss. It’s the poor little one being bullied by a pair of vacuum bots. Take them out to rescue your buddy.

Bot 6: The sixth bot is located in the cave after collecting the third puzzle piece and breaking through the flag. It will be situated between the two dangling skeletons.

Bot 7: The seventh and final bot will be on the sinking ship you crash land on. It will be on the left side, fighting for its life in a sea of jewels. Make a heroic rescue before abandoning the vessel and taking on the boss, Captain Shortfuse.
Cannon Brawl Puzzle Pieces

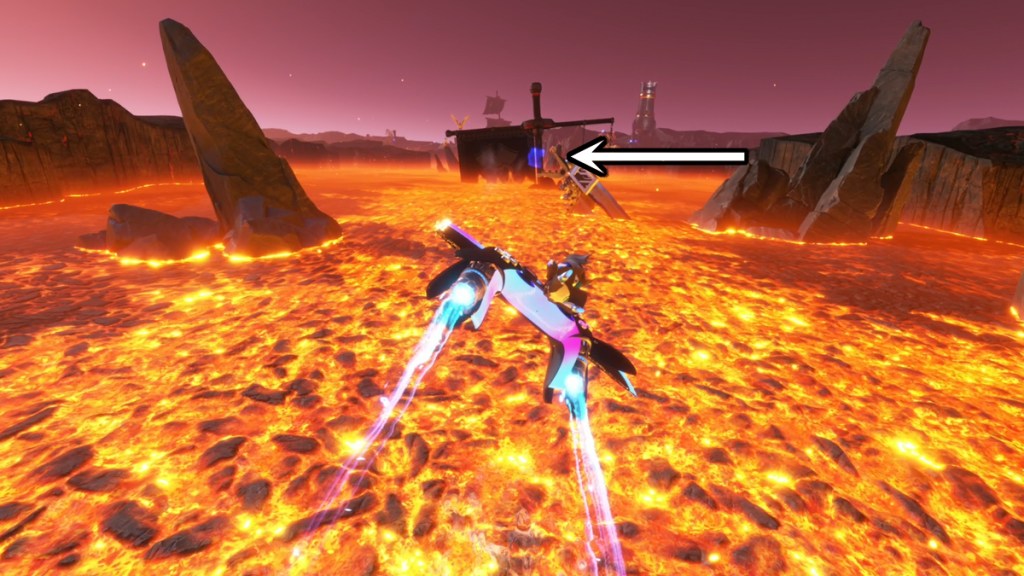
Piece 1: The first puzzle piece can be obtained on approach with the Dual Speeder. It will be in the jaws of a robo croc and you’ll need to veer right and boost to get it.

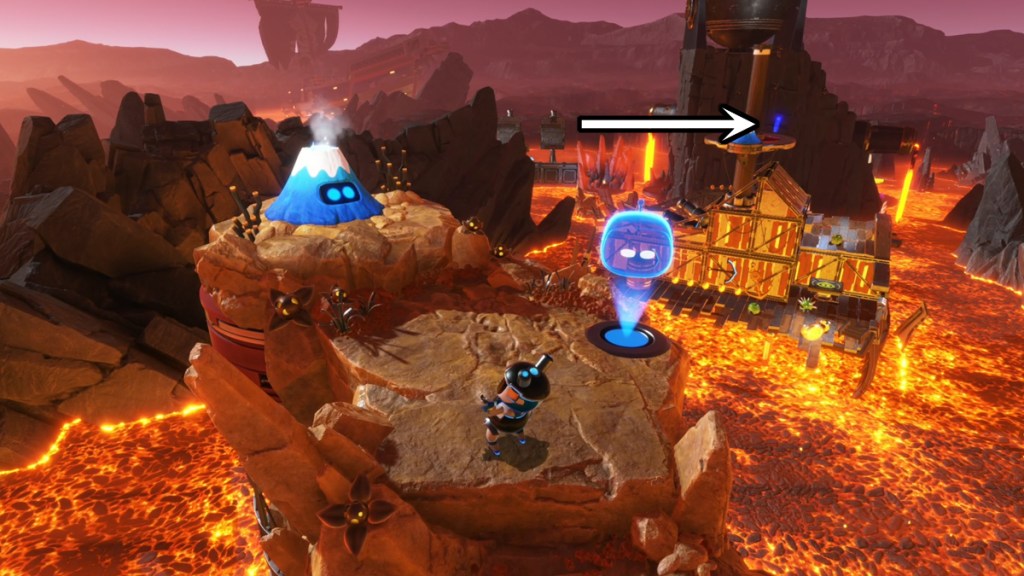
Piece 2: The second puzzle piece is conveniently located just after the second bot. Instead of proceeding straight towards the little volcano, take a left and head up the mast. There will be another volcano to shoot you to safety after securing the puzzle piece.

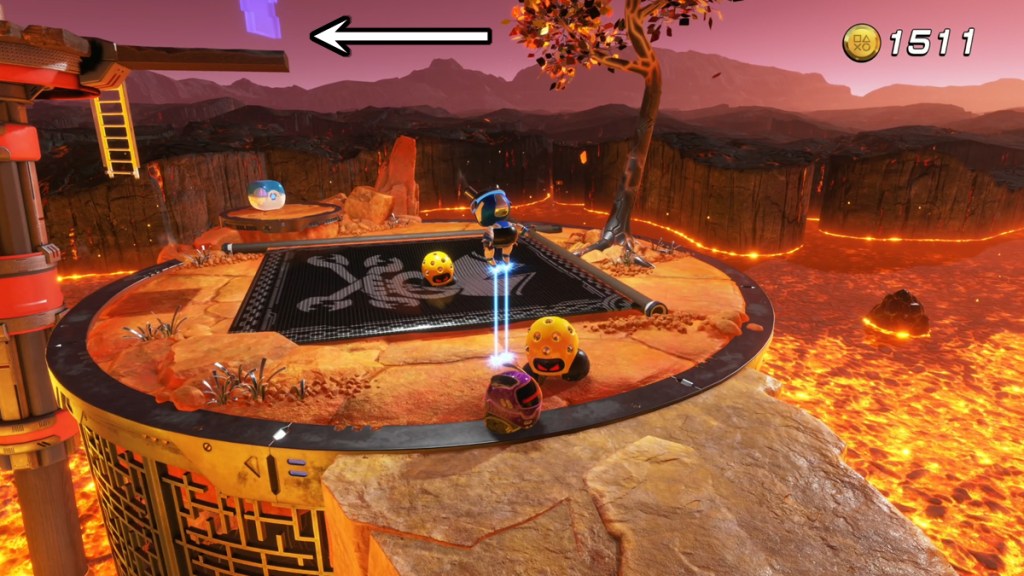
Piece 3: The third and final puzzle piece is just past the fifth bot. Jump up to the ladder on the left and grab the puzzle piece before dropping down on the pirate flag in ball form.


