While The Final Shape‘s campaign may have been meager in terms of story, there’s plenty to do with some old Destiny 2 favorites once it’s complete. The Lost in Light mission pairs you with House Light’s Kell, Mithrax, to right wrongs from the past. Here’s where to get the mission and how to complete it.
Chipping away at House Salvation
After completing The Final Shape campaign, your Ghost will give you the Destined Heroes mission. This will lead to getting the Wild Card mission from Cayde-6 which then opens up two more quests from Ghost, one of which is Lost in the Light.
The starting point is east of The Lost City and The Landing. Mark it in the Director and follow the icon once you’ve loaded into The Landing. After going off the main path, you’ll pass into The Refraction. There are plenty of Lucent Hive in the way, but they shouldn’t pose much of an issue.
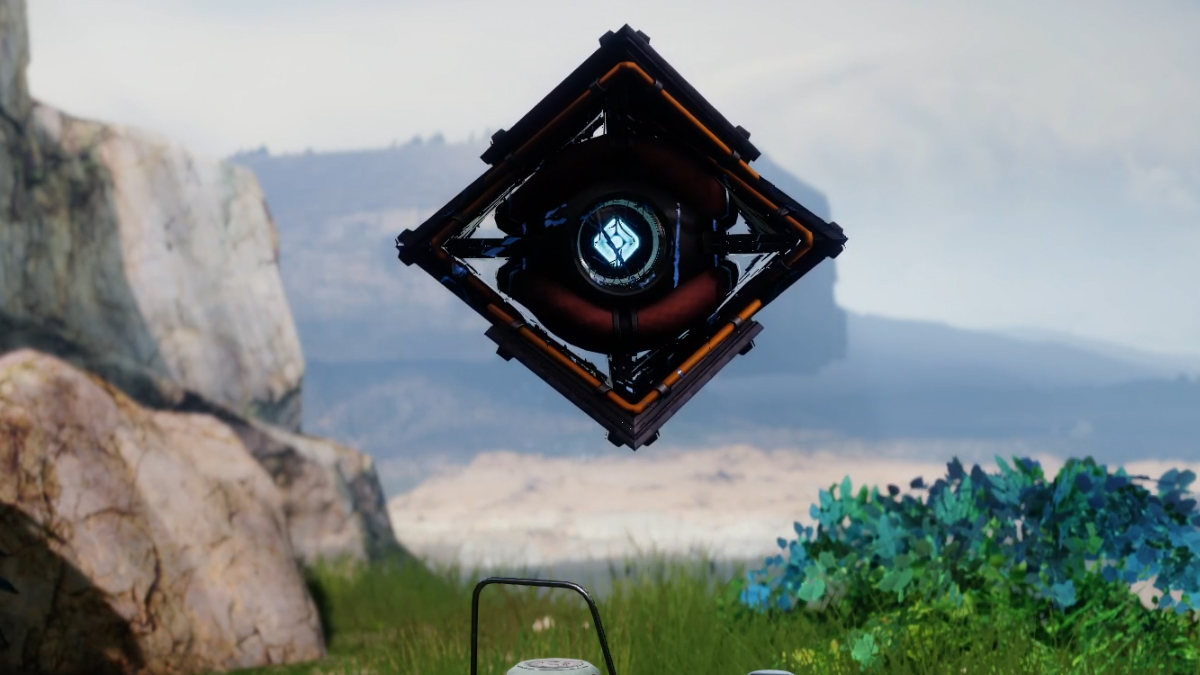
Eventually, you’ll come across the mirror portals that were introduced in the campaign. Follow the path until you find the statues of Crow and Mara Sov. Pop open the chest to get a new Prismatic ability. You can interact with the statues to get some lore or you can skip it and immediately start the next mission. There’s no penalty if you’re not keen on the story.
The Hollow, Part I
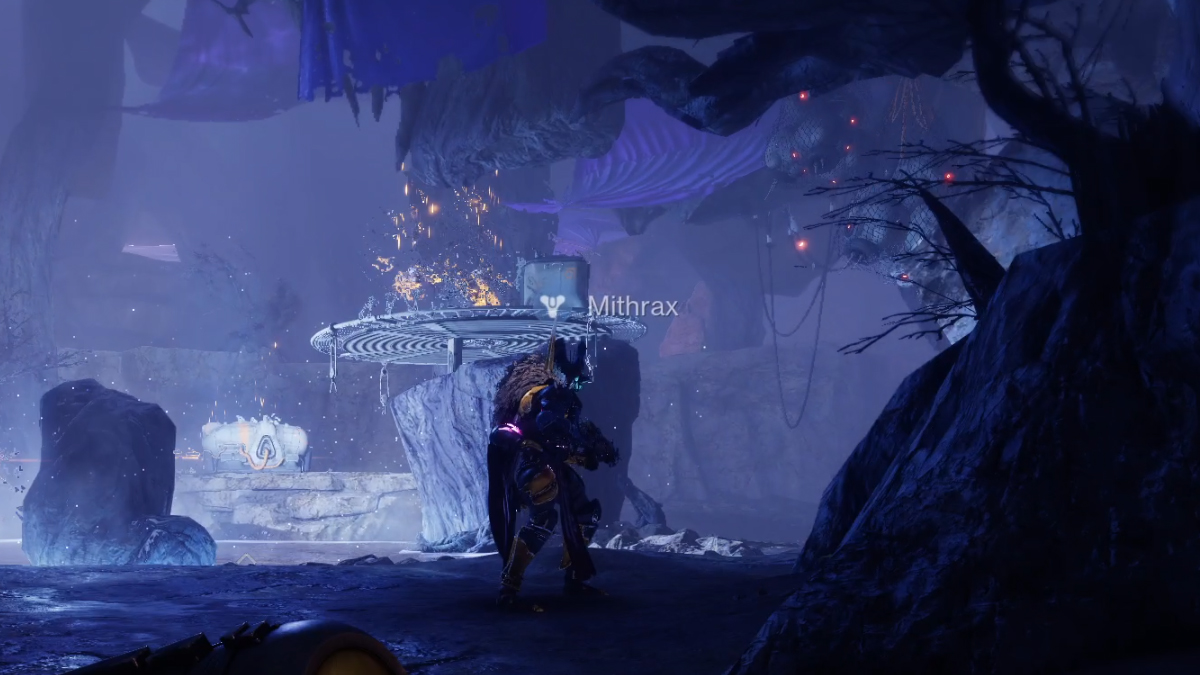
You’ll wind up on Zavala’s homestead for some reason as Ikora and Mithrax immediately summon you into another portal to help the Kell of House Light. Inside is a House Salvation base in desperate need of being ruined.
Help Mithrax clear out the group of Fallen and he’ll ask that you help him compromise the defensive systems. At this point, the room will be divided by a forcefield. Look up and to the right to find a rock outcrop with a passage. Jump through and deploy your Ghost at the console in the rear of the room. The Fallen will keep spawning until Ghost is finished. Stay close as he can be interrupted. It is easy to miss if it happens, so keep an eye on the mission tracker.
With the hack complete, rejoin Mithrax and pursue the retreating members of House Salvation. There will be a pack of them near the forcefield protecting the roots of the tree. Clear them out to receive further instructions from Mithrax.
There are two shield generators with the audacity to block your path that need blowing up. The trick is to kill the Eaters of Light and Darkness and collect five of the motes that drop. You’ll then take the motes to the opposing pad, so Light to Dark and Dark to Light.
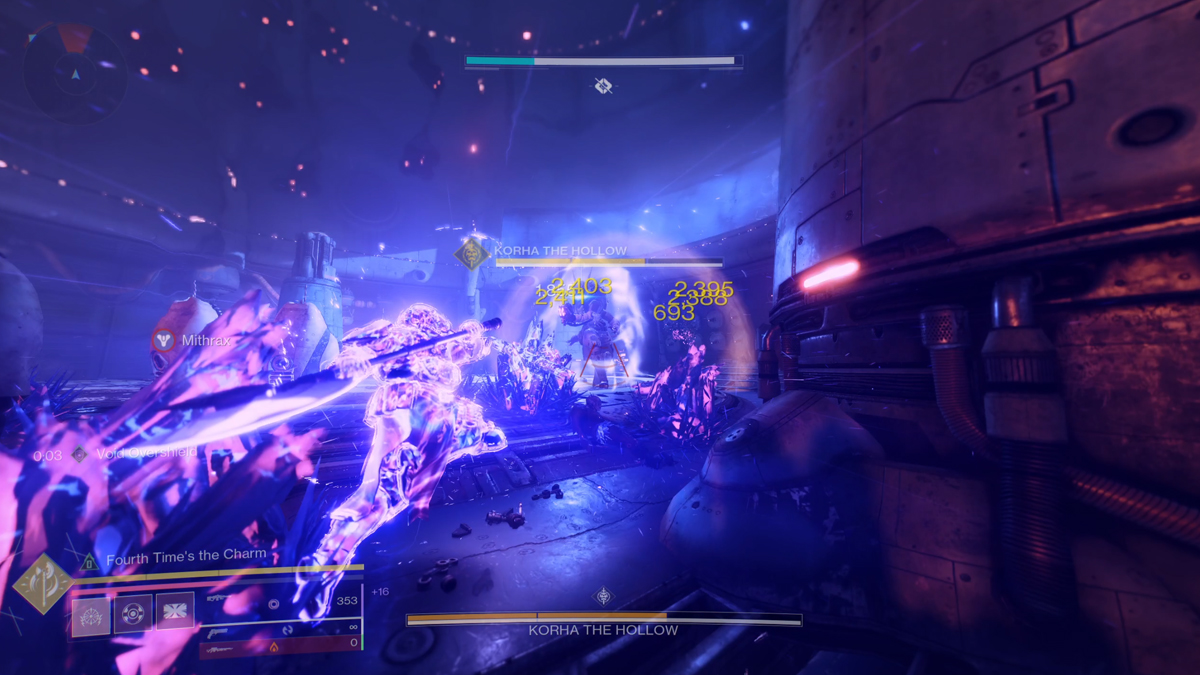
With those nefarious shields down, sprint over to the tree and meet up with your bro, Mithrax. The two of you will square up against a specter from the Kell’s past, Korha the Hollow. This Stasis-wielding Fallen has two life segments that need to be destroyed. With the destruction of each, he will go immune. Employ the strategy you just learned to destroy his shields. Once both life segments are destroyed, Korha will beat feet.
You’ll be teleported back to the cave from the beginning. Next to the statue of Prince Uldren sitting on his sister’s throne. Open the chest to get another Prismatic ability and interact with the beacon to trigger the next mission.
The Hollow, Part II
Korha must have been traumatized from the beating you and Mithrax gave him as he’s now halfway across the system on Europa. Work through House Salvation’s base with extreme prejudice.
You’ll be introduced to this mission’s mechanic once you reach the front door. Summon the exploder shank to have it slowly drift to the door where you can shoot it to open the way.
After working through the base, you’ll come across some Dread reinforcements that are immune. Destroy the servitors to get an Arc Charge that must then be deposited to summon more exploder shanks that will go straight for the Dread, destroying their shields. After eliminating those fools, you’re free to proceed.
Like any dungeon or raid, this mission is expounding upon previous mechanics. You’ll come across another exploder shank station. The goal is to protect this explodey boy from the Fallen guarding the door. Escort the volatile key and pop him once you’ve reached your destination.
Inside that building will be another group of Dread needing their bubbles burst. You know what to do here: kill the servitors, collect the Arc Charges, summon the exploder shanks, and kill the Dread.
The next section should bring back fond memories of Ghost doing his best Drifter impersonation. Let yourself be distracted by that happy memory as you escort your bomb across the tracks and to the opposite side of the room. Try not to get distracted by enemies behind you as the shank will keep moving if nothing is in its way.
With a total of three doors now destroyed, it’s time to put down Korha for good. This fight uses the same servitor/shank mechanic. Towards the end of the fight, Korha will go immune, but will continue to fire. Just hide behind a column as his death is scripted.
You’ll be teleported back to the cave once Ikora and Mithrax finish their conversation. Open the final chest for another Prismatic ability and dose of lore. Feel free to leave at any time after opening the chest and make sure to pat yourself on the back for knocking this mission out.


