The quest to steal the ledger, “The Master Thief of Anbar”, in Assassin’s Creed Mirage, is one of the first missions you’ll be tasked with in the game. It’s, therefore, a good learning experience for new players and a fun refresher for long-time fans of the series. Here’s everything you need to know to complete it.
You’ll start the mission in Dervis’ house, where the previous cutscene ended. To get the ledger, you need to follow the map to the northwest. The ledger area is marked by the white symbol, which can be seen on the main map and your mini map.
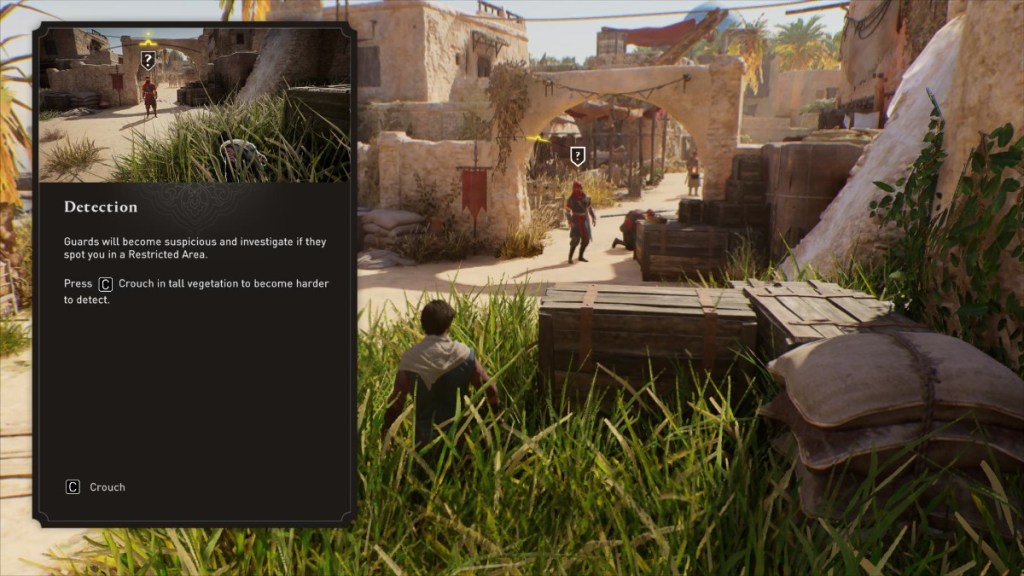
When you’re close to the spot on the map that marks the ledger location, you’ll see a guard stopping anyone from entering, pictured above.
This is where you’ll be introduced to the detection mechanic in Assassin’s Creed Mirage that functions in much the same way as in other Assassin’s Creed games. Crouch in the grass after the guard notices you and wait for him to walk over. When he’s close enough to the grass, you can take him out stealthily.
After putting the first guard down, head left past the entrance and climb over the wall instead of going through the front door.
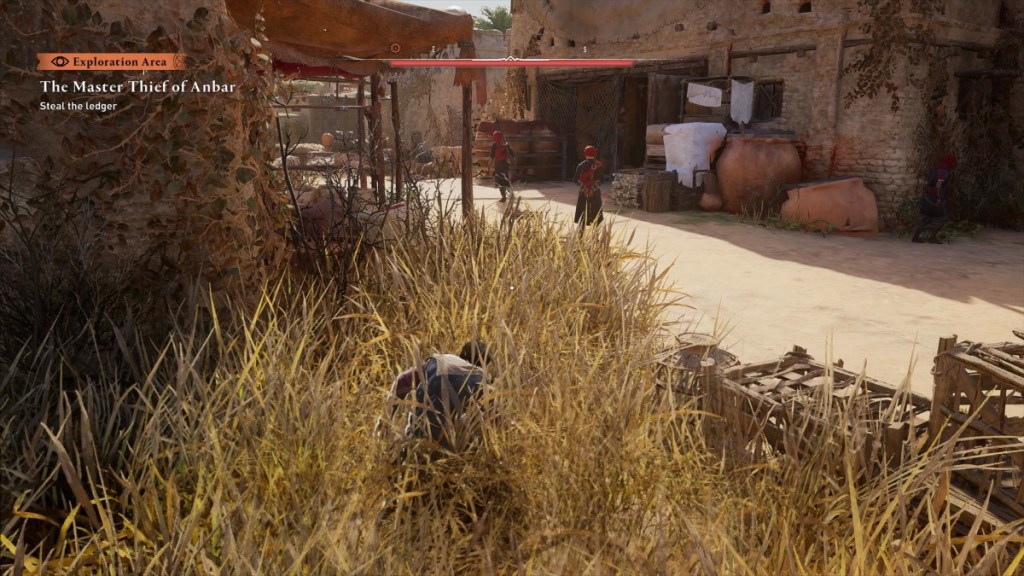
After hopping over the wall, you’ll be able to hide in the grass close by as three guards stand around talking. You’ll need to take out all three to progress, but wait for a moment, and they will disperse, meaning you can take them down one by one.
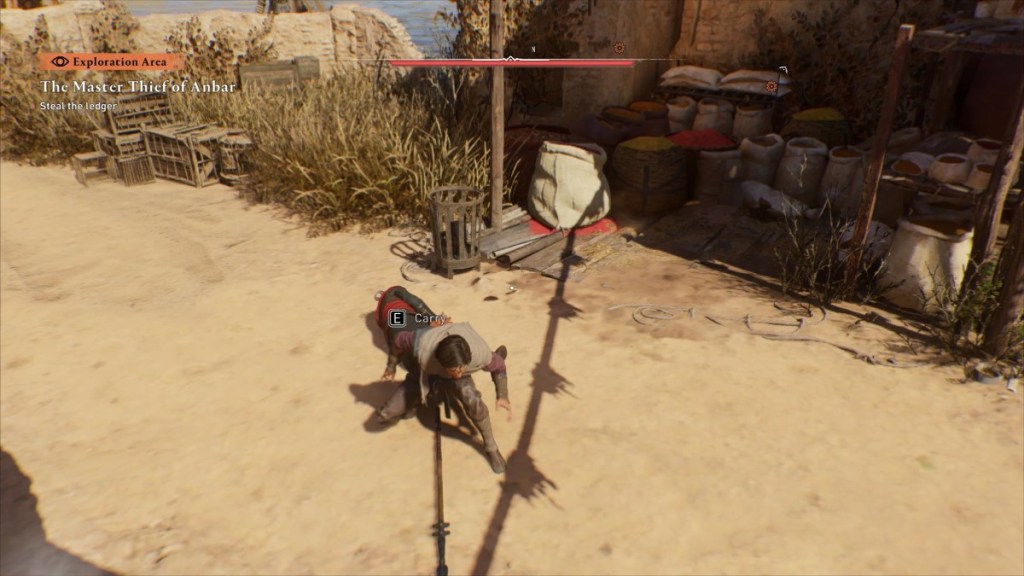
One of the guards, pictured above, will stay in the same spot as where they all met. Knock him out first. Don’t worry about hiding the bodies. The other guards won’t be around long enough for it to matter.

The second guard walks off to the right of the first. He will sit down near another entrance to the compound, pictured above. You can quietly knock him out while he’s sitting there.
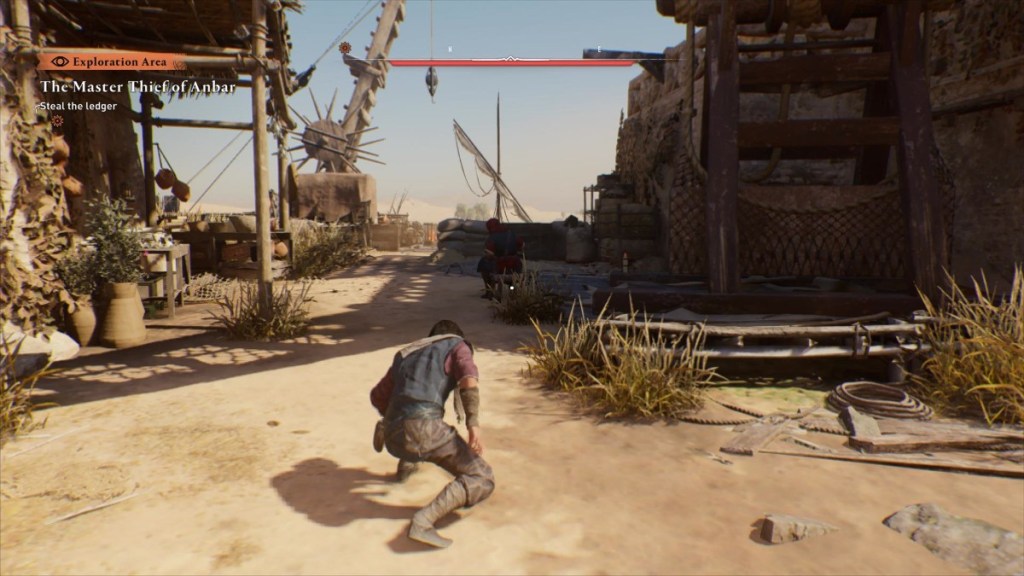
The third guard from the chatting trifecta is also resting his legs, just around the corner to the left of where they were meeting. Once again, take him down quietly.
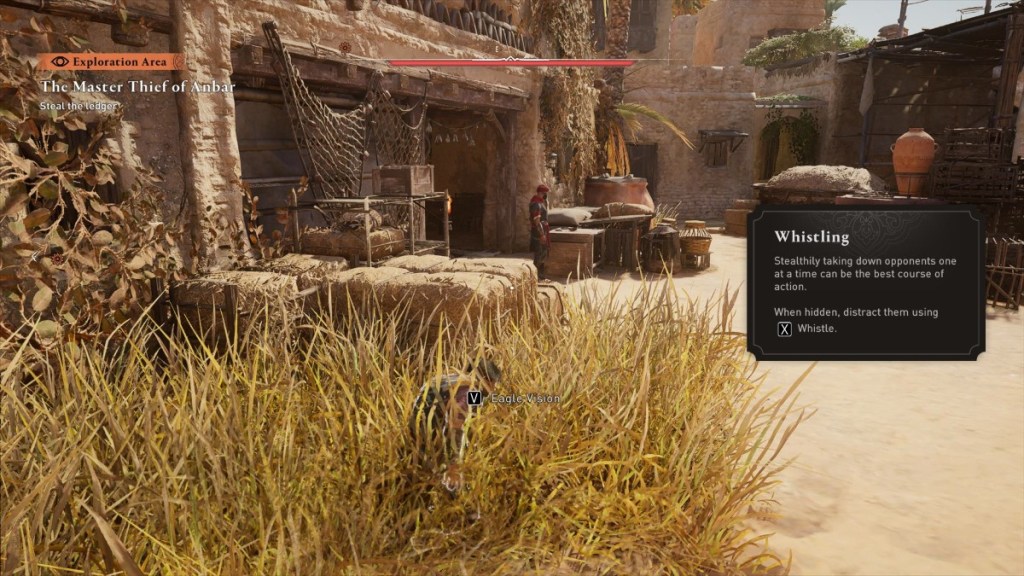
Now, don’t get caught out. Although three guards were talking up a storm, there’s a fourth who obviously takes his job much more seriously. He’s guarding the entrance to a building within the compound.
Go to the grassy area pictured above, and you’ll be shown how to whistle him over. After attracting him with your impressive whistling skills, take him down.
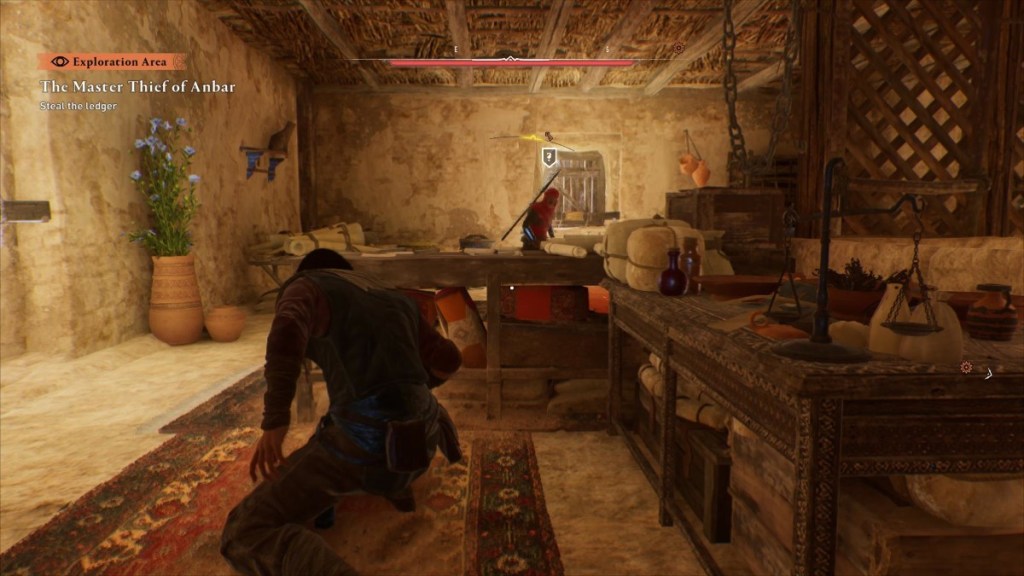
After knocking down the guard with your songbird-like skills, head into the building he was guarding. At the top is a stronger guard who’s more alert. You’ll need to be much more careful here. He can easily kill Basim, and you haven’t got any weapons of your own yet, so it’s difficult to do any damage.
Stay hidden behind the tables in the room, and wait until his back is turned to seize your chance. You may want to watch his movements for a few moments to memorize his pattern.
If you get caught, he will attack, at which point you can try hitting him as much as you can. It is possible to kill him, but it’s exceedingly difficult. You may be better off letting him kill Basim and starting over.
Once he’s taken care of, loot the key from his body. You’ll need this to access the final room with the ledger.
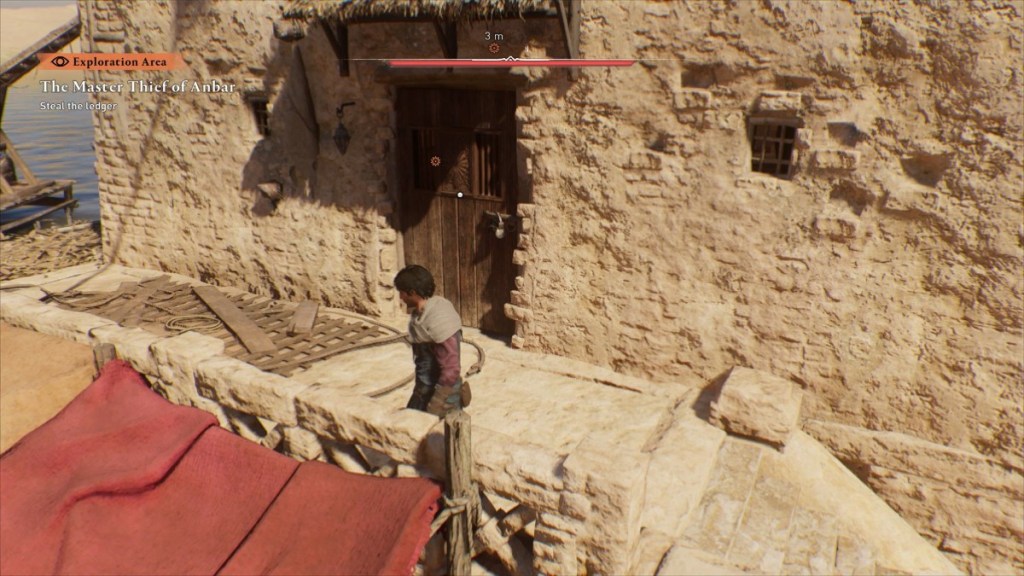
The room with the ledger is located in the building opposite the guard with the key. It’s just behind where the three talking guards stood as you entered the compound. The door you need to access is pictured above and can be accessed via the stairs near where the guards were stood. Use the key to unlock the door and head inside.
The ledger can be found on the table on the other side of the room from the door. However, before you collect it and leave, make sure to loot all of the chests and baskets surrounding the ledger. There are some goodies to be had.
When you’re done looting, head back to the start at Dervis’ house to complete the mission.


