Payday 3’s No Rest for the Wicked is a pretty standard bank heist. It is the first map in the game and is a pretty comfortable setup for series veterans. One of the main wrinkles is tracking down the location of a red and blue keycard that you might need to finish up the heist.
Where to get the Red and Blue Keycard in No Rest for the Wicked
To get the red and blue keycard, you need to find two guards. They are patrolling the first and second floor, but which one has each card will be random each time you play the level.
First Keycard Location in No Rest for the Wicked
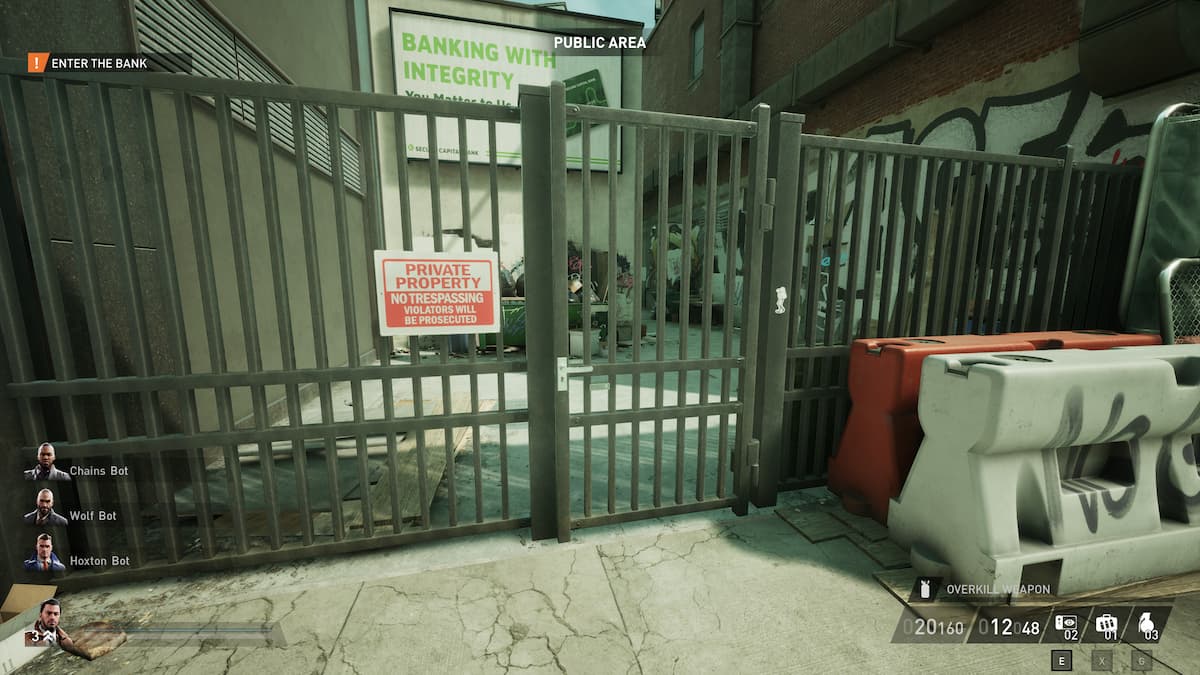
To get the first keycard, we need to get to the first floor. The easiest way to do this is to pick the best route from the very start of the heist. No matter where you spawn, head to the far right of the building, where you will find a small locked gate. You can lockpick this easily. Just be mindful of the guard in the alley ahead. Make sure he is pasted the corner of the building and walking away before you start.
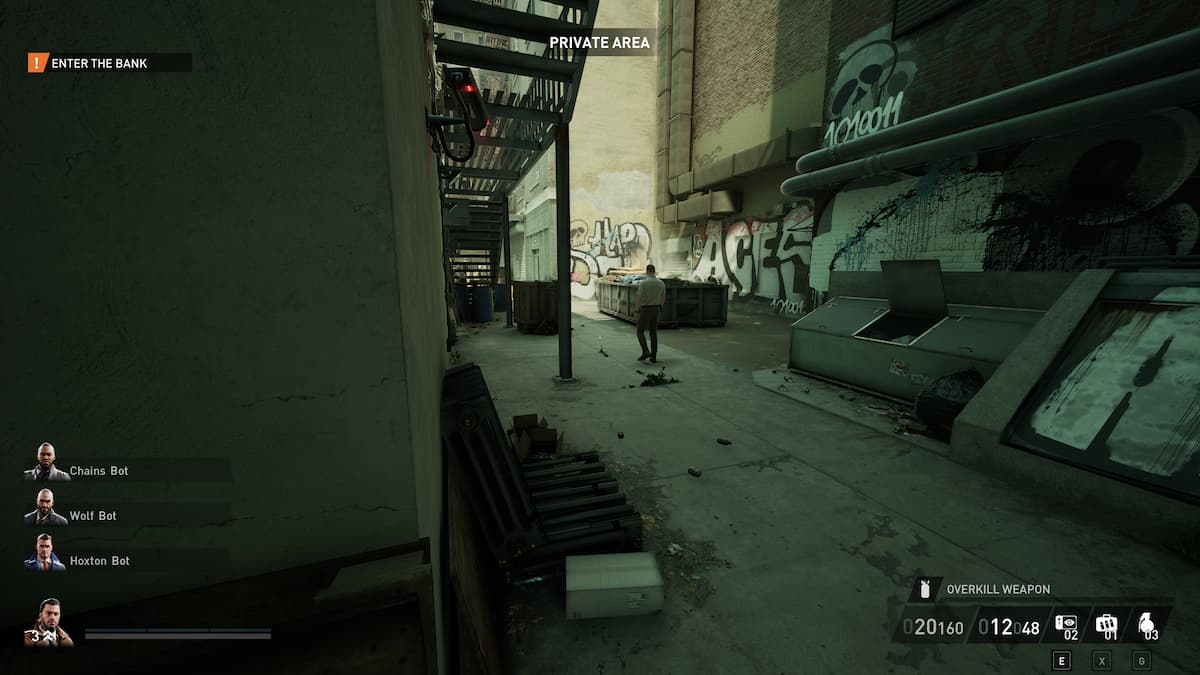
Head down the alley, letting the guard stay ahead of you. You have no reason to interact with this guard at all and can get through this entire section without needing to mask up or take out the guard. When he goes behind the building, follow him, but stick close to the wall of the bank. When you get to a corner, there will be a camera. Stop, slowly peak the corner, and ensure the camera is facing away. Let the guard get a little ahead and walk under the camera as it turns.
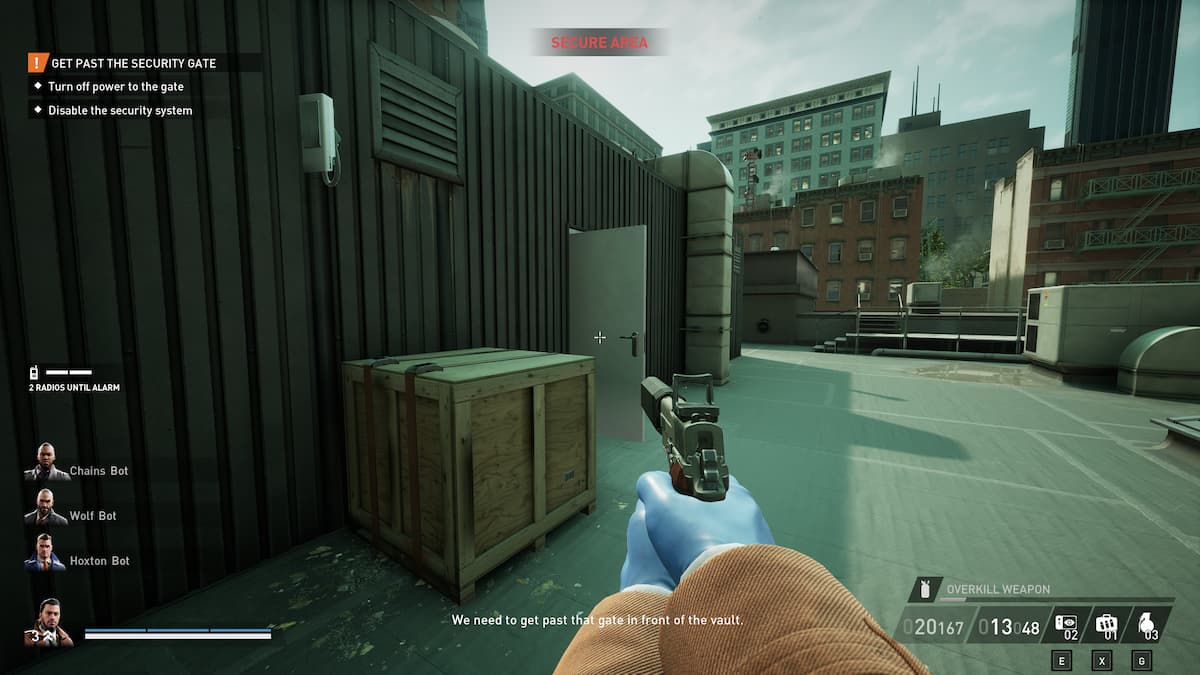
Once you are past the camera, keep following the guard until you arrive at a metal staircase on your left. Head up to the top, and you will find yourself on the roof. In the center is a building that you can go into. The door inside is on the far side, but be careful because there is another camera. If you go around the left side, you will obscure the camera with the open door, allowing you to sneak in unseen.
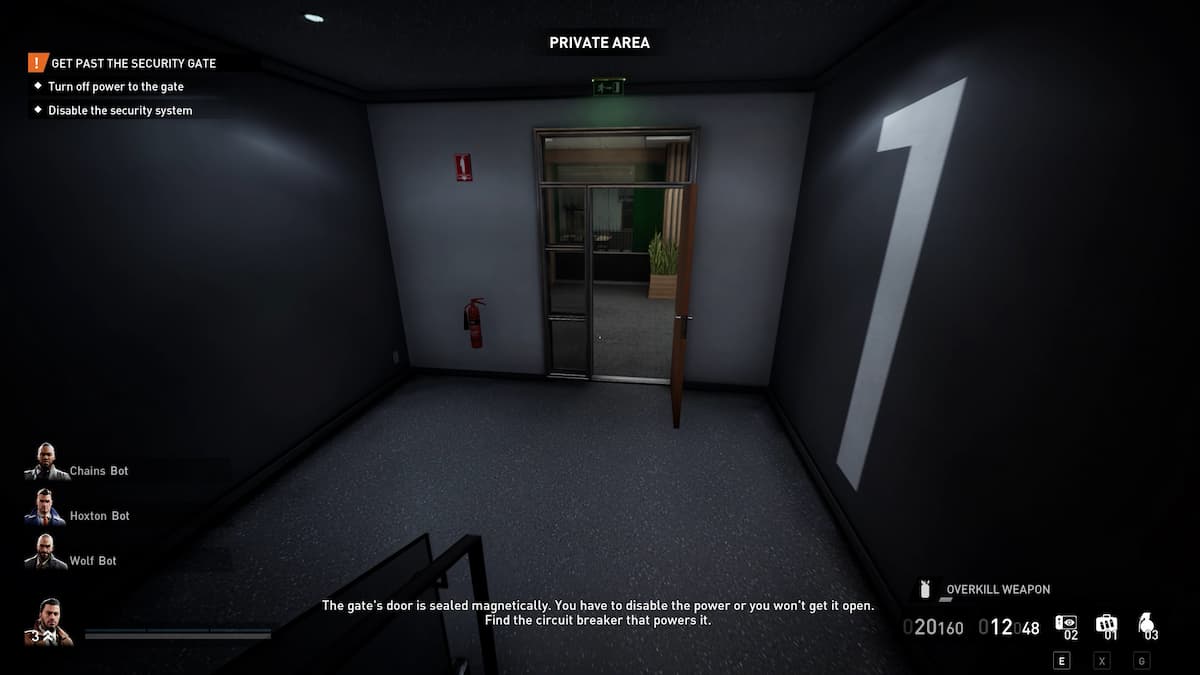
Head down the stairs until you get to the first floor. The first keycard is on a guard that patrols this area. You cannot be seen here, even with no mask on, so you will need to be cautious. Slowly peek out the door to see where the guard is. He should be either on your left or on your right.

If he is down the hallway to the left, wait for him to walk back up, let him pass, then crouch, walk out behind him, and grab the card off his belt. Duck back into the stairwell quickly so you are not picked up by any cameras or by the guard. Now you have the red or blue keycard in your possession.
Second Keycard location in No Rest for the Wicked
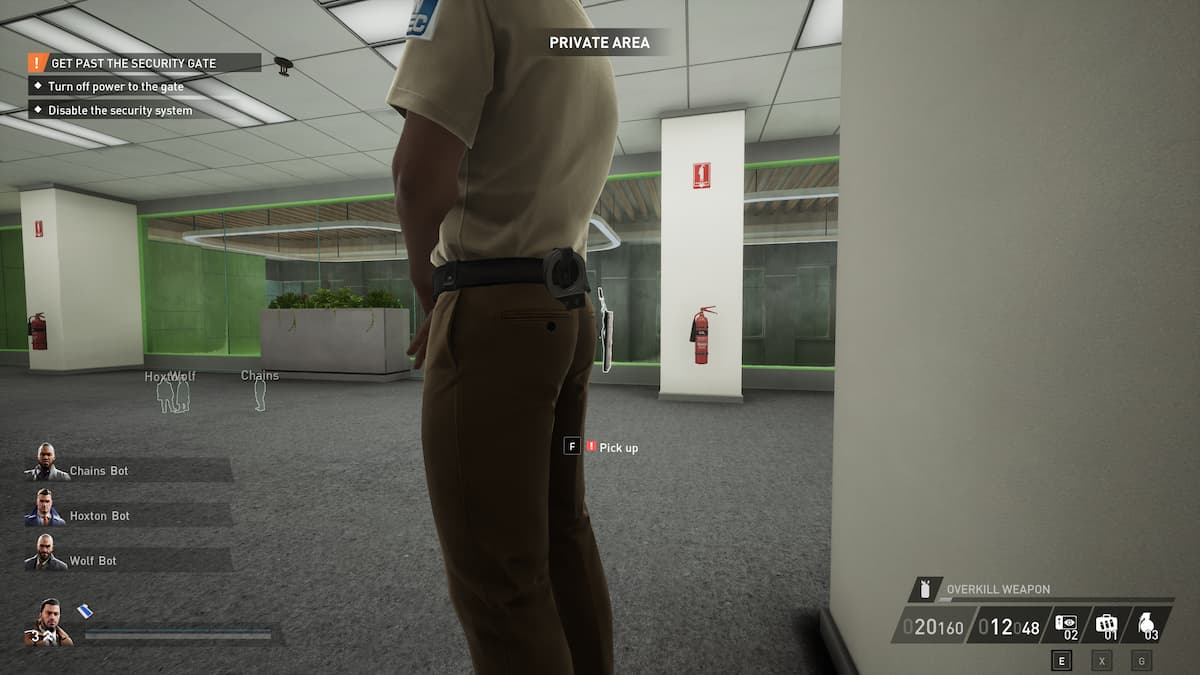
To get the second keycard, head back up the stairs one floor. On the second floor, marked on the wall by a large 2, you will find yet another guard on patrol. The setup here is the same, except you will want to wait until he is all the way at the bottom of the hallway to your left. Wait until he is there, then duck and walk down to avoid being seen by anyone in the offices. Grab the card off his belt and make your way back to the central staircase.
Where to use the blue and red keycards
The blue and red keycards are used to open a number of security doors on the second floor and the roof. From the stairwell entrance, you will need to make your way around to the right side of the building. Be careful, as there are a lot of cameras and guards you will need to dodge. Near a small sitting area area, you may find a door that needs a keycard. Scan the right card, and you can get inside.
If you keep going around, you will find another door at the far end of a small coffee break area. This will sometimes be a locked door for a storage room, depending on the randomness of your level. Finally, the last door can be up on the roof, so go up there and check if you are still missing a door.


Published: Sep 30, 2023 08:51 am